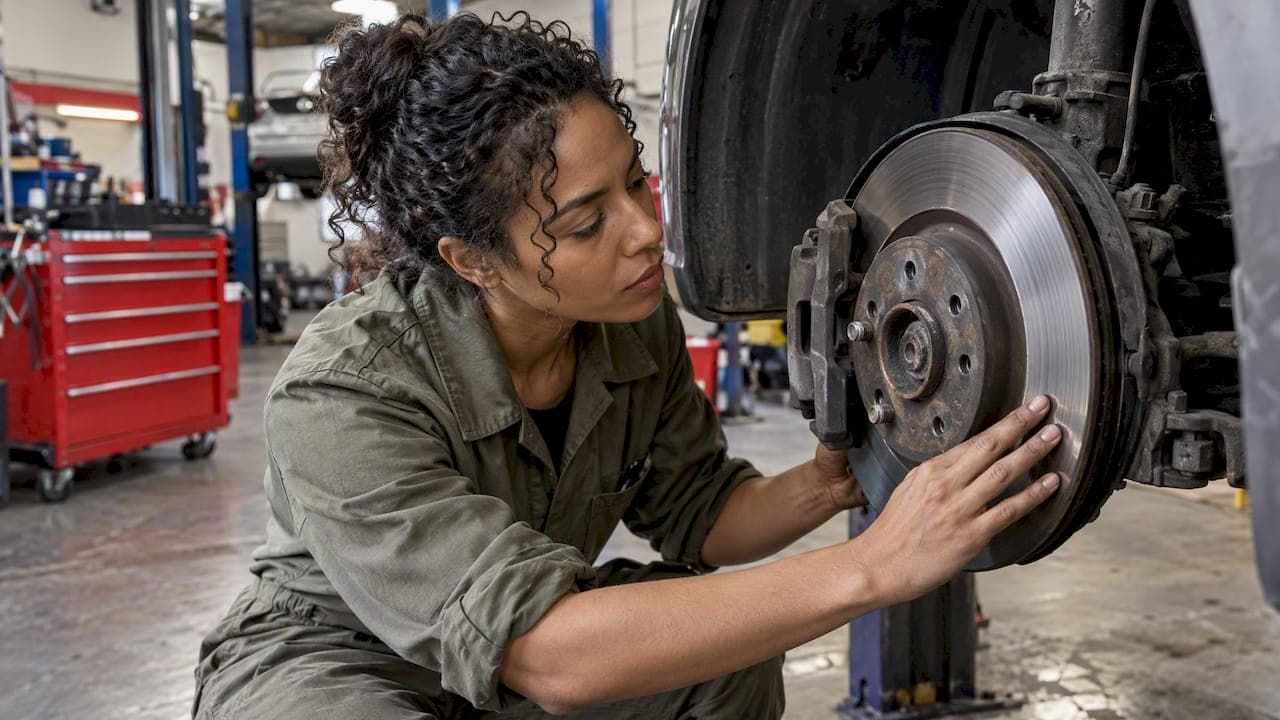
Rotor surface finish is the texture of the friction face that the brake pads press against. It is measured as roughness average (RA), in microinches. A good finish is smooth but not polished, and has no spiral lathe grooves. The finish affects pedal feel, pad seating and noise. This guide covers what the finish should be, how to check it, and when to sand, resurface or replace.
TL;DR
- Target the vehicle's OEM specification. Many new rotors fall in a range of roughly 15 to 80 microinches RA.
- A non-directional (cross-hatch) finish is preferred over a directional finish with spiral grooves.
- Light sanding removes old pad material. It does not fix a warped rotor.
- Thin modern rotors often have little material left to machine. Measure first, then decide.
- Clean new or resurfaced rotors, then bed in the pads. Skipping either step spoils the finish.
Table of Contents
- What rotor surface finish means
- Directional vs non-directional finish
- Typical RA values
- How to tell if a rotor is glazed
- Is it okay to sand brake rotors?
- What causes uneven wear and vibration
- Resurface or replace?
- Rust and the rotor face
- Checks after resurfacing or fitting new rotors
- Bedding in protects the finish
- Our view on rotor finish
- Replacement options from DBC
- FAQ
- Sources
What rotor surface finish means
The friction face of a rotor is a machined surface. Its texture decides how the pad material grips and transfers onto the iron. Too rough, and the pad wears fast and the brakes can be noisy. Too smooth or glazed, and the pad slides instead of biting.
Two terms matter:
- Roughness average (RA): the average height of the surface peaks and valleys, in microinches.
- Directional or non-directional pattern: whether the marks run in one direction (spiral grooves) or in a cross-hatch.
OEM specification is the reference. Brake & Front End reports that rotor finish should meet OEM specifications for good braking performance, pedal feel and quiet operation. The same article gives a typical RA range of 15 to 80 microinches. Check the vehicle's service information for the exact figure.
Directional vs non-directional finish
A lathe cuts a spiral groove into the rotor face. This is a directional finish. Motor magazine's brake service guide notes that such a finish can raise pedal effort, because the pads touch only the peaks between the grooves.
A non-directional finish breaks up those grooves with a cross-hatch pattern. Brake & Front End says this can improve pedal feel, pad seating and noise.
| Feature | Directional finish | Non-directional finish |
|---|---|---|
| Pattern | Spiral grooves from a lathe | Cross-hatch |
| Pad contact | Peaks between grooves | Broader, more even |
| Typical source | Fresh lathe cut | Lathe cut plus abrasive step, or a factory-finished new rotor |
| Effect on feel | Can raise pedal effort | Can improve pedal feel and seating |
Typical RA values
The numbers differ by source and by vehicle. Most new OEM and quality aftermarket rotors fall around 30 to 60 microinches RA, according to a brake service reference. The same reference notes that some vehicles call for 80 or less, and especially sensitive ones for 50 or less.
Rules of thumb:
- Use the OEM figure when one exists.
- Do not chase a mirror finish. A polished rotor is not a better rotor.
- Without a surface profilometer, judge the finish by eye and touch: even, matte, no deep grooves, no torn metal.
How to tell if a rotor is glazed
Glazing is a hard, shiny layer on the friction face. It usually comes from heat or from pads that were not bedded in correctly. One service guide says that once glazing sets in, recovery is difficult without resurfacing the rotors.
Signs to look for:
- A shiny, slick, mirror-like band on the friction face.
- A longer stopping distance or a weak pedal.
- A high-pitched squeal under light braking.
- Blue or dark heat marks on the rotor.
Glazed pads and glazed rotors often come together. Pads with a hard, shiny face are a warning sign for the rotor too. Our guide to sanding or replacing glazed brake pads covers the pad side.
A glazed rotor needs inspection. Deep heat marks, cracks or a rotor near its minimum thickness call for replacement. A brake technician should make that call.
Is it okay to sand brake rotors?
Light sanding is a limited tool. It has two uses and one limit.
Use 1: remove old pad material. A Mazda technical service bulletin (NHTSA record) allows the rotor to be lightly sanded with #80 grit to remove old pad material during pad work. The same bulletin prohibits grinding wheels and air-powered tools. That bulletin applies to specific Mazda vehicles in the United States. Other makers may specify something different.
Use 2: add a non-directional pattern. Shop references describe sanding the rotor evenly with abrasive in the #120 to #150 range to give a lathe-turned face a cross-hatch. This is general shop practice, not a manufacturer rule. Follow the maker's service information when it speaks to the point.
The limit: sanding does not fix warping. Brake Pad Boss makes the same point: hand-sanding is not a good way to address vibration from warped rotors. Those should be turned on a lathe by a trained professional, or replaced.
Basic rules if sanding:
- Use a block or a dual-action tool with an even touch. Work both faces.
- Never use a grinding wheel.
- Keep the pattern even. Avoid dwelling in one spot.
- Wash the rotor afterwards, as described below.
What causes uneven wear and vibration
Brake judder is often called warping. The cause is uneven rotor thickness, also called run-out. A Mazda technical service bulletin from 2025 explains that the changing gap between pad and rotor can cause vibration felt in the pedal, the floor or the steering wheel.
The symptoms:
- Pulsing in the pedal.
- Shake in the steering wheel under braking.
- Vibration through the floor.
Causes can include hub or wheel mounting problems, mismatched pads and rotors, and uneven pad deposits. Our guides on matching pads and rotors to stop judder and on asking for thickness and runout checks go through the checks in more detail.
Resurface or replace?
The finish question leads to a decision. Cutting the rotor produces a fresh finish, but it removes metal.
Why modern rotors leave little to cut
In a Canadian column, Driving.ca notes that modern rotors are often thin, with little room for machining. It also says unnecessary resurfacing can reduce mass and may raise the risk of warping. Motor adds that turning a rotor once may mean it must be replaced before it can be turned again.
Measure before cutting
The Underhood Service tech tip gives the sequence:
- Measure the rotor at several points.
- Record the lowest reading.
- Compare it to the minimum thickness stamped on the rotor and to the discard specification in the service information.
- Refinish only if enough metal remains.
If the rotor is worn close to its discard dimension, Motor advises installing a new rotor without more machining. Our four-point micrometer workflow shows how technicians take those readings.
Quick decision guide
| Condition | Usual action |
|---|---|
| Light grooves, plenty of thickness left | Resurface, if the maker allows it |
| Light glaze, good thickness | Inspect; resurface or replace |
| Pedal pulsing and uneven thickness | Measure; resurface or replace |
| Near minimum thickness | Replace |
| Deep scoring, pitting or heat cracks | Replace |
A vehicle maker can also recommend machining. In the 2025 Mazda bulletin above, replacement is not necessary in most cases for brake noise on the listed models, and the rotors are machined on an on-car or bench lathe. That is specific to those models.
Rust and the rotor face
A thin orange film after a vehicle sits is common. It usually wears off in the first few stops. Heavy rust, pitting and scale are different.
Driving.ca says surface rust on the rotor edges can often be removed with light hammer taps or a buffing pad on a power drill. Deep pitting on the friction face changes the finish for good. In that case the rotor needs inspection and often replacement.

For more, see our guides on surface film versus damage, causes and prevention of rotor rust and coated rotors for daily drivers.
Checks after resurfacing or fitting new rotors
Before the wheels go back on, check the following:
- Pattern: the finish should be non-directional, with no obvious spiral grooves.
- Roughness: smooth, and within the OEM RA range.
- Cleanliness: no metal debris, oil or corrosion coating.
- Edges: no torn or smeared metal.
Brake & Front End lists the same points. Torn metal comes from dull lathe bits or a feed rate that is too fast. Sharp bits and correct feed rates are key to a good cut, according to Motor.
Clean the rotor
Motor's guidance splits cleaning in two:
- Resurfaced rotors: wash with mild soap and water to remove metal particles.
- New rotors: remove the anticorrosion coating with brake cleaner or another solvent.
Our guide on cleaning new rotors before installation has the full process. Keep fingerprints, oil and grease off the friction face.
Wheels are cleaned separately from rotors. Guidance on how to remove brake dust safely covers the wheel side, once the rotor face is done and dry.
Bedding in protects the finish
A good finish gets pad material laid down in a thin, even layer. That is the point of bedding. Poor bedding leads to glazing. Our guides on why performance brakes need bedding and the 10 to 15 stop bedding routine cover the method. Always follow the pad maker's procedure first.
Basic principles:
- Start with moderate stops.
- Avoid holding the pedal down once the vehicle is stopped after hard braking.
- Let the brakes cool by driving, not by parking right after heavy use.
Our view on rotor finish
We build and sell brake kits to Canadian drivers. Our view is simple.
Finish is a fit and prep issue, not a cosmetic one. A rotor that arrives with the right face and is cleaned and bedded properly rarely needs more work. That is why we pair rotors with pads in kits and publish how to clean and bed them.

On cutting old rotors, we agree with the caution above. A thin rotor is not improved by taking more metal off. Measure it. If the numbers are close to the limit, replace it.
Our cross-drilled rotors are engineered to resist warping and to last. A matched kit also helps the pad and rotor wear together. Fitment is guaranteed, and our support team answers questions from people, not automated replies. Ask before ordering if the vehicle or the use is unusual.
— Sam
Replacement options from DBC
When measurements say replace, the choice is a matched set. DBC lists rotors, pads and kits for cars, trucks and performance vehicles. Pricing is inclusive, with no hidden fees, and orders over $100 ship free within Canada. Expedited shipping is $29.99 per order.
- Brake kits: rotors and pads together.
- Brake rotors: front and rear.
- Brake pads: carbon performance pads.
Select the make, model and year on the DBC site to see the parts that fit.
FAQ
What is a good surface finish for a brake rotor?
It should be within the OEM specification for the vehicle, with a non-directional pattern. Brake & Front End gives a typical range of 15 to 80 microinches RA. Most new rotors sit near the middle of that range.
Is it okay to sand brake rotors?
Light sanding can remove old pad material and add a cross-hatch. It will not cure vibration from uneven thickness. Never use a grinding wheel or air-powered tool, and follow the vehicle maker's service information.
How do I know if a rotor is glazed?
A glazed rotor has a shiny, slick friction face. Stopping can feel weaker, and the brakes may squeal. Have a technician inspect it, because heat damage and low thickness mean replacement, not sanding.
What causes uneven wear on a rotor?
Uneven thickness, or run-out, changes the gap between pad and rotor. This produces pulsing in the pedal or shake in the steering wheel. Mounting problems, mismatched parts and uneven pad deposits can all contribute.
Sources
- Brake & Front End: Non-Directional Rotor Finishes
- Motor: Effective Brake Service Techniques, June 2007
- AA1Car: Brake Rotor Inspection and Replacement
- Brake Pad Boss: Is It Ok to Sand Brake Rotors?
- NHTSA: Mazda technical service bulletin on brake noise
- NHTSA: Mazda technical service bulletin on brake judder, 2025
- Driving.ca: Your Corner Wrench on machining brake rotors
- Underhood Service: Avoid expensive comebacks by refinishing rotors the right way
- Car Care Total: How to break in new brake pads
- Diamondbrite: Remove brake dust safely