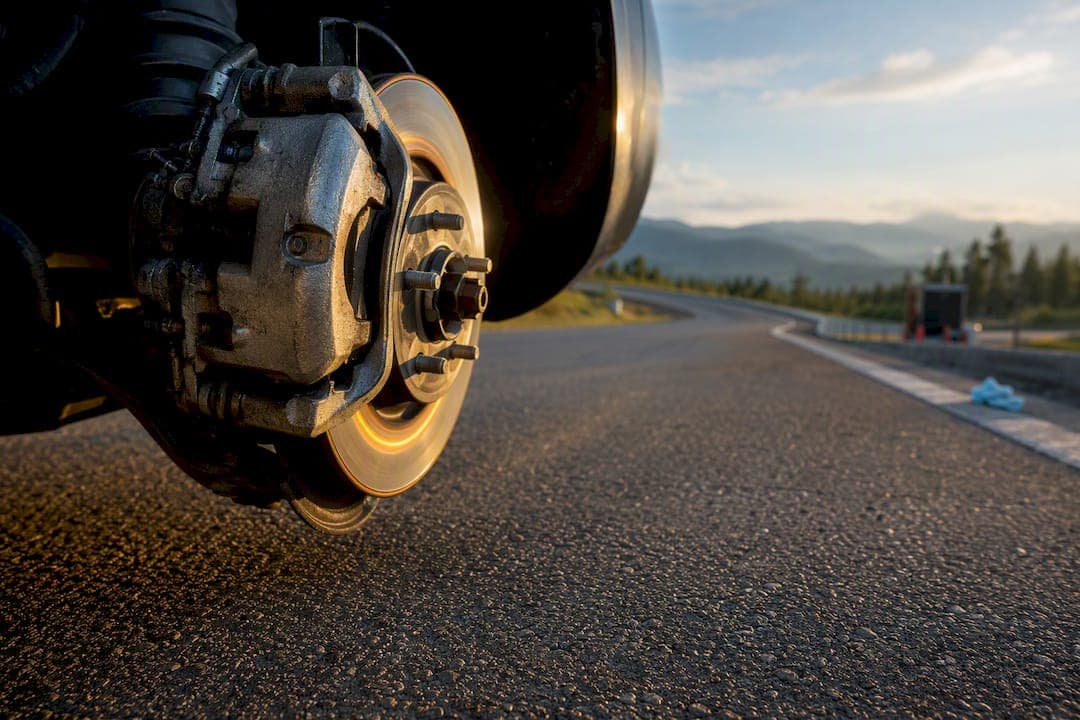
Bedding is a short, controlled burnishing process that deposits a thin, even layer of pad material onto the rotor. Do this after installing new pads, new rotors, or resurfaced rotors, and stopping power will be more consistent and the brakes will perform more reliably. Street driving requires moderate stops at moderate speeds; performance pads require higher-speed runs with longer cooldowns.
TL;DR:
- Proper bedding ensures an even transfer layer, preventing uneven deposit buildup, pedal judder, hot spots, and rotor damage over time.
- Street bedding involves 8 to 10 partial stops at moderate speeds, avoiding complete stops, to promote even heat distribution and transfer layer formation.
- Performance pads require higher temperatures and longer, controlled stops at 80 to 100 km/h for effective bedding, preferably on a closed course or long road.
- Cooling the rotors fully after bedding and avoiding parking brake contact prevents imprinting pad shapes and preserves braking performance.
- Rushing or skipping the bedding process often causes judder, pulsation, or early pad glazing, which can usually be fixed with proper procedure or rotor inspection.
Table of Contents
- Why the brake bedding procedure matters
- When to run the procedure and what to check first
- Street bedding procedure: step-by-step
- Performance bedding procedure for track-style pads
- How to confirm bedding worked
- Common bedding mistakes and how to fix them
- What DBC Brakes recommends before and after installation
- A shop note on skipped bedding
- Get the right hardware before you bed anything in
- Sources
Why the brake bedding procedure matters
Every stop deposits a microscopic film of pad material onto the rotor surface, helping stabilize braking. When that transfer layer forms evenly, it stabilizes friction and keeps wear consistent across the whole rotor face. Skip the process, or do it carelessly, and the transfer builds up in patches instead of a smooth coat.
Uneven deposits cause pedal pulsation, hot spots, and eventually rotor damage that no amount of driving fixes on its own. A thickness difference as small as a few ten-thousandths of an inch can trigger judder you can feel through the pedal.
There's a second failure mode: glazing. This happens when the resin binder in the pad heats too fast or too hard before a transfer layer exists, and it polymerizes into a hard, glassy shell instead of bonding to the rotor.
- Glazed pads lose friction and need to be resurfaced or replaced
- Uneven transfer shows up as brake judder or pulsation
- Hot spots on the rotor face can lead to cracking over time
- New pads often feel grabby or inconsistent until bedding is complete
When to run the procedure and what to check first
Bedding is required any time friction material meets a fresh rotor surface. That covers new pad installs, new rotor installs, and rotors that were just resurfaced or machined. If you've corrected a glazing problem by sanding pads or resurfacing rotors, treat it the same way and bed the system again.
Before you start, confirm the basics:
- Calipers move freely and aren't sticking on the slide pins
- Rotors show no cracking, scoring, or heavy rust on the friction surface
- Brake fluid is at the correct level and not visibly contaminated
- Wheel lug nuts are torqued to spec after any brake work
Pick an empty road or parking lot with no traffic, stay within speed limits, and avoid towing or carrying heavy cargo during the session. This isn't the time to test how fast the car can stop from highway speed.
Street bedding procedure: step-by-step
This is the routine most daily-driven vehicles with OEM-style or semi-metallic pads should follow. It also answers the common question of how to bed brakes without highway access, since every step happens at city and suburban speeds.
- Drive normally for a few minutes first to clear any debris or moisture off the rotor surface.
- Accelerate to roughly 30 to 40 km/h and apply the brakes moderately, slowing to about 15 km/h without coming to a full stop. Repeat this 8 to 10 times.
- Let the vehicle roll and re-accelerate between each stop so heat has a chance to spread evenly through the rotor.
- Increase to roughly 50 to 60 km/h and apply firmer pressure, again slowing without a complete stop. Repeat 8 to 10 times.
- Finish with a few minutes of easy driving with minimal braking to let everything cool gradually.
StopTech's technical bulletin recommends two sets of ten partial stops as a reliable pattern for many street-performance pads, which lines up closely with the sequence above.
Pro Tip: Never come to a complete stop during the burnishing runs. A full stop lets heat concentrate at one contact point instead of spreading across the rotor, which is exactly the uneven deposit you're trying to avoid.
Performance bedding procedure for track-style pads
Semi-metallic and full race compounds need higher temperatures before they bond properly, so the street sequence above won't get them there. If your pad manufacturer specifies a higher operating range, follow their sheet over any general guide. Pad compound dictates the target temperature, and race pads typically need meaningfully more heat than street pads to activate correctly.
- Find a closed course or a long, legal stretch of road well clear of other traffic.
- Accelerate to 80 to 100 km/h and brake firmly down to about 40 km/h, using firmer pedal pressure than the street sequence.
- Repeat 6 to 8 times, allowing the car to roll between applications rather than sitting stopped.
- Pull off and let the vehicle idle or roll slowly for several minutes so rotor temperatures come down before the next set, if a second set is needed.
- Avoid ABS-triggering panic stops during bedding. The system pulses the caliper faster than a smooth burnishing pass allows, which works against even deposit.
Race Technologies' Brembo-related guidance recommends controlled, repeated applications rather than a single hard run, with counts and durations adjusted for the specific pad compound in use.
How to confirm bedding worked
Cooldown isn't optional. Drive gently for several minutes after your last set, avoiding hard stops, and let the rotors cool fully before parking. Setting the parking brake on hot rotors can imprint the pad shape onto the rotor face, a mistake that's easy to make and annoying to fix.
Signs the procedure succeeded:
- Pedal feel is firm and consistent, not soft or spongy
- No judder, pulsation, or grinding through the pedal or wheel
- Stopping distances feel steady from one stop to the next
- No burning smell or visible smoke after the cooldown drive
If judder or pulsation shows up after bedding, don't assume more driving will fix it. That usually points to uneven rotor thickness or a pad that glazed early, and it's worth having a technician inspect the rotor surface before you put more miles on it.
Common bedding mistakes and how to fix them
Most bedding failures come down to rushing the process or skipping the cooldown. A few patterns show up repeatedly in the shop:
- Coming to complete stops during burnishing runs instead of rolling through them
- Setting the parking brake before rotors have fully cooled, which can imprint the pad
- Jumping straight to high-speed, high-heat stops on street pads not rated for it
- Skipping cooldown entirely and driving straight into stop-and-go traffic
- Ignoring early judder instead of checking rotor condition right away
If you notice glazing, a hard, shiny discolouration on the pad face, light sanding can sometimes restore some bite, but a heavily glazed pad usually needs replacing. Persistent pulsation after a proper bedding attempt is a sign to stop and get the rotor checked rather than repeating the procedure again and hoping it resolves itself. For a closer look at how these mistakes stack up, DBC Brakes has covered the brake upgrade mistakes enthusiasts run into most often.
What DBC Brakes recommends before and after installation
Some manufacturers build cross-drilled rotors specifically to manage heat and resist warping, which makes an even transfer layer easier to establish during bedding. Pairing the right pad compound with the right rotor design gives the burnishing process less to fight against.
- Match your pad compound to the bedding intensity it actually needs. Street pads don't need track-style heat, and forcing it can glaze them early.
- Inspect rotor surface condition before you start. Rust, scoring, or old glazing on the rotor will undermine even the best-executed bedding routine.
- Read through DBC's step-by-step installation guide before you begin if this is your first time swapping pads or rotors.
- For a deeper technical breakdown of why the process matters, DBC's guide to performance brake bedding covers the mechanics in more detail.
A shop note on skipped bedding
Cars come back to the shop for brake judder more often than most owners expect, and a rushed or skipped bedding procedure is behind a good share of those visits. The fix usually takes less time than the comeback appointment does.
Twenty to thirty minutes of deliberate driving after a pad or rotor swap is a small trade against months of pulsation, uneven wear, or an early pad replacement.
— Sam
Get the right hardware before you bed anything in
Some kits are built around cross-drilled rotors engineered to resist warping, so the transfer layer you're working to establish has a stable surface to bond to rather than one already fighting heat damage. Pricing policies and shipping details vary by supplier; consult the vendor's site for current information.

Buying tip: match your pad compound to how you actually drive. A daily commuter doesn't need a race-oriented pad that demands high-temperature bedding just to work properly, and a pad mismatched to your driving style will fight the bedding process no matter how carefully you run the steps. Browse the full brake kit collection to find a pad and rotor pairing suited to your vehicle, or check the cross-drilled rotor lineup if you're replacing rotors on their own.
Sources
- How To Properly Bed Brakes (And What Happens If You Don't) — Jalopnik
- StopTech's recommended procedure for bedding-in stock-sized brake systems — Centric/StopTech (PDF)
- Bedding procedure — Race Technologies (Brembo-related guidance)
- How to bed-in new brake pads and rotors — Les Schwab