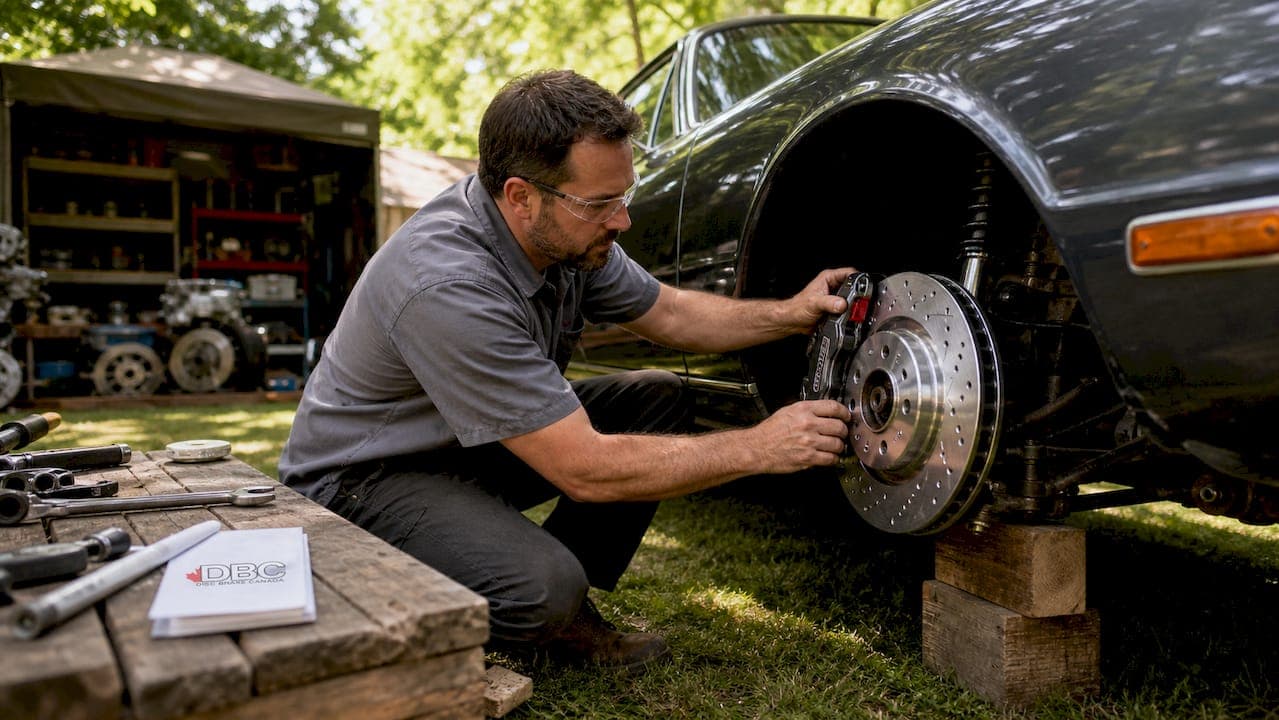
The most critical brake upgrade mistakes enthusiasts make involve ignoring system balance and skipping essential installation steps. Bigger calipers and larger rotors mean nothing if the master cylinder cannot supply enough fluid volume, or if new pads never go through a proper bedding procedure. A brake system is an interconnected chain, and the weakest link limits performance regardless of how much money goes into the hardware. Getting this right in 2026 means thinking about hydraulics, friction, heat, and fitment together, not separately.
1. The most common brake upgrade mistakes enthusiasts make: ignoring hydraulic matching
Hydraulic matching is the single most overlooked factor in brake upgrades. When you install calipers with a larger total piston area than the stock master cylinder was designed to supply, the pedal travels too far before the pads engage. Improper hydraulic matching results in the brake pedal travelling halfway to the floor before the pads contact the rotor. That is not a performance upgrade. That is a safety hazard.
The master cylinder bore size determines how much fluid volume moves with each pedal stroke. A bore that is too small for the new caliper piston area creates a long, vague pedal. A bore that is too large creates an overly sensitive, hard-to-modulate feel. Neither is acceptable on a performance build. Piston count in calipers is a marketing metric. Hydraulic matching and brake bias matter far more for actual pedal feel.
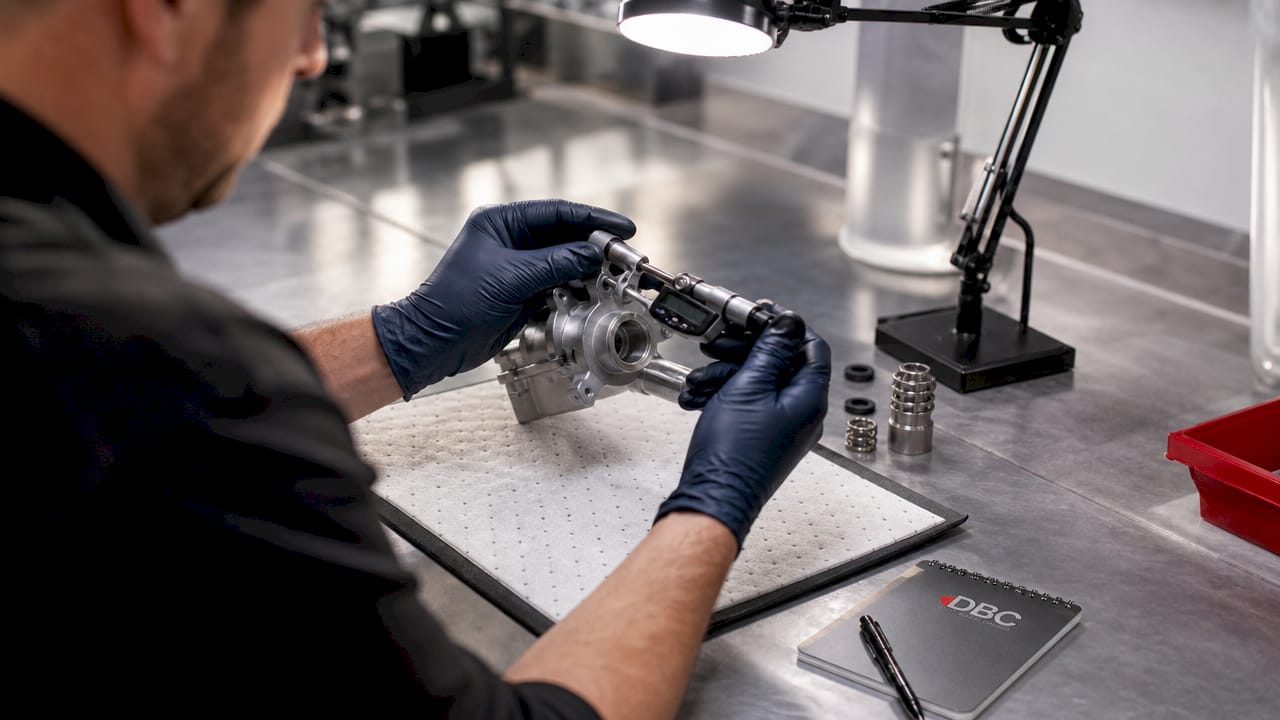
Pro Tip: Measure the total piston area of your new calipers before purchasing. Compare it against your stock master cylinder bore. If the ratio is off, budget for a matching master cylinder at the same time.
2. Skipping the bedding-in process for new pads and rotors
Bedding-in is not optional. It is the process of transferring a thin, even layer of friction material from the pad onto the rotor face. Without it, the friction interface is inconsistent, and stopping power is reduced from the first hard application. Skipping bedding-in prevents the friction transfer layer from forming, which causes vibrations and reduced stopping power.
The industry-standard protocol involves a series of controlled stops from moderate speed. The recommended procedure uses an 8-stop sequence before normal driving begins. Each stop heats the pads and rotors progressively, allowing the transfer layer to bond evenly. Rushing this step is one of the most common brake replacement mistakes enthusiasts make, and it costs nothing to avoid.
A related error is misdiagnosing the symptoms. Over 90% of brake judder cases are linked to uneven pad deposits or rotor thickness variation from improper bedding, not actual rotor warping. Replacing rotors because of vibration, without first ruling out a bedding issue, wastes money and misses the real cause.
Key steps for a correct bedding procedure:
- Start from 60 km/h and brake firmly to 10 km/h without stopping completely
- Allow 60 seconds of cooling between each stop
- Repeat the sequence 8 times, increasing brake pressure gradually
- Avoid coming to a full stop until the rotors have cooled completely
- Do not use the parking brake during the cool-down phase
For a full walkthrough, the performance brakes bedding guide covers every step in detail.
3. Overemphasising bigger brake hardware without system-wide upgrades
Bigger brakes do not automatically stop a car faster. Stopping distance is limited by tyre grip, not caliper size. Big brake kits do not guarantee shorter stopping distance if the tyres or fluid are not addressed alongside the hardware. Installing a large front brake kit without upgrading rear brakes, fluid, or lines shifts brake bias forward and creates nose-dive under hard braking.
Thermal management is the other issue. Larger rotors generate more heat, and if the brake fluid has a low dry boiling point, that heat causes vapour lock. Vapour lock turns fluid into gas, which compresses under pedal pressure and produces a spongy, fading pedal. High-boiling brake fluid with proper bleeding improves soft pedal issues far more effectively than hardware replacement alone.
Common brake upgrade errors when upsizing hardware:
- Installing large front calipers without matching rear brake upgrades
- Keeping stock rubber lines that cannot handle increased thermal load
- Using old brake fluid with a degraded boiling point after adding high-performance pads
- Ignoring brake bias adjustment after changing front-to-rear caliper ratios
Pro Tip: Upgrade pads and fluid before upsizing rotors or calipers. These two changes deliver the most noticeable improvement per dollar spent, and they reveal whether a bigger kit is actually needed.
4. Ignoring key installation details: hoses, lines, fitment, and clearances
Old rubber brake hoses expand under pressure. That expansion absorbs pedal force that should be moving the caliper pistons. Stainless steel braided lines provide a firmer, more consistent pedal feel by eliminating hose expansion. Keeping stock rubber lines while upgrading to performance pads and rotors is one of the most common brake installation mistakes, because it undermines the pedal feedback the new hardware is supposed to deliver.
Wheel clearance is a separate but equally critical issue. Fitting a larger rotor and caliper requires verifying clearance against the wheel's inner face. Clearance fitting for big brake kits requires checking wheel width, offset, spoke curvature, and rotor hat height, not just diameter. A caliper that clears the rotor but contacts a wheel spoke at full lock is a serious safety failure.
Using wheel spacers to solve clearance conflicts is a common workaround, but it creates new problems. Wheel spacers impact hub-centric location, bearing load, and long-term stability. They are not a substitute for selecting a brake kit with verified fitment for your specific wheel and vehicle combination.
A soft or spongy pedal after installation often points to a bleeding error or an air pocket in the line. Spongy pedal symptoms after pad replacement are a well-documented sign that the hydraulic circuit was not fully purged. Always bleed the system after any caliper or line work.
Use this fitment checklist before purchasing any brake kit:
| Check | What to verify |
|---|---|
| Rotor diameter | Confirm clearance against wheel inner diameter and spoke profile |
| Caliper offset | Match rotor hat height to caliper mounting bracket position |
| Hose length | Verify braided line length fits suspension travel range |
| Wheel offset | Check that new caliper body clears wheel at full steering lock |
| Fluid compatibility | Confirm fluid spec meets or exceeds new pad and rotor heat range |
Verifying brake kit compatibility before ordering saves time, money, and the frustration of a fitment failure on installation day.
Key takeaways
Brake upgrade errors almost always trace back to ignoring system balance, skipping bedding procedures, or overlooking fitment details that compromise both safety and pedal feel.
| Point | Details |
|---|---|
| Hydraulic matching is non-negotiable | Measure caliper piston area against master cylinder bore before buying any caliper upgrade. |
| Bedding-in is a required step | Follow the 8-stop protocol to build an even friction transfer layer and prevent judder. |
| Bigger hardware needs system support | Upgrade fluid and lines before upsizing rotors or calipers to avoid brake fade and bias shift. |
| Fitment requires multi-point verification | Check wheel offset, spoke clearance, rotor hat height, and hose length, not just rotor diameter. |
| Rubber lines undermine performance upgrades | Stainless steel braided lines eliminate hose expansion and deliver consistent pedal feel. |
What I have learned from watching enthusiasts get brake upgrades wrong
The pattern I see most often is not ignorance. It is impatience. An enthusiast spends weeks researching caliper options, orders a kit that looks impressive on paper, and then skips the hydraulic spec check because it feels like a detail. Two weeks later, the pedal is soft, the bias is off, and they are back to square one.
The uncomfortable truth about brake system pitfalls is that the expensive parts are rarely the problem. The problem is almost always the cheap or overlooked parts: old rubber lines, degraded fluid, a stock master cylinder that cannot feed the new calipers, or a bedding procedure that got rushed. I have seen enthusiasts spend over a thousand dollars on a big brake kit and then leave the stock rubber hoses in place. The pedal felt worse than before.
The brake parts worth prioritising are not always the ones with the highest price tag. Fluid, lines, and a proper bedding procedure cost a fraction of a caliper upgrade and deliver more measurable improvement in most street builds. Plan the full system before you buy any single component.
— Sam
DBC Brakes: brake kits built for system-wide performance

DBC Brakes supplies brake kits engineered for fitment accuracy and thermal durability, with cross-drilled rotors designed to resist warping under repeated heat cycles. Every kit is matched to specific vehicle applications, which removes the guesswork from hydraulic and mechanical compatibility. DBC Brakes ships free on orders over $100 across Canada and provides direct, knowledgeable support without automated responses. For enthusiasts who want verified fitment and transparent pricing, browse the full catalogue at CrossDrilledRotors.ca. The range covers pads, rotors, and complete kits for a wide selection of makes and models, including dedicated options for Pontiac vehicles.
FAQ
What causes a spongy brake pedal after a caliper upgrade?
A spongy pedal after a caliper upgrade is almost always caused by air in the hydraulic circuit or a master cylinder that cannot supply enough fluid volume for the new caliper piston area. Bleed the system completely and verify hydraulic matching before assuming the hardware is faulty.
Is bedding-in new brake pads really necessary?
Yes. Bedding-in builds an even friction transfer layer on the rotor face. Skipping it leads to uneven pad deposits, vibration, and reduced stopping power, symptoms that are often mistaken for warped rotors.
Do bigger rotors always improve stopping distance?
No. Stopping distance is limited by tyre grip. A balanced system with quality pads, matched fluid, and proper lines outperforms a size-only upgrade where the supporting components have not been addressed.
Can wheel spacers fix caliper clearance issues?
Wheel spacers are not a reliable fix. They affect hub-centric location and bearing load, which creates long-term stability risks. Select a brake kit with verified clearance for your specific wheel offset and spoke profile instead.
What should be upgraded before buying a big brake kit?
Upgrade brake fluid and lines first. High-boiling fluid and stainless steel braided lines deliver measurable pedal improvement at a fraction of the cost of a big brake kit, and they reveal whether a larger kit is actually needed.