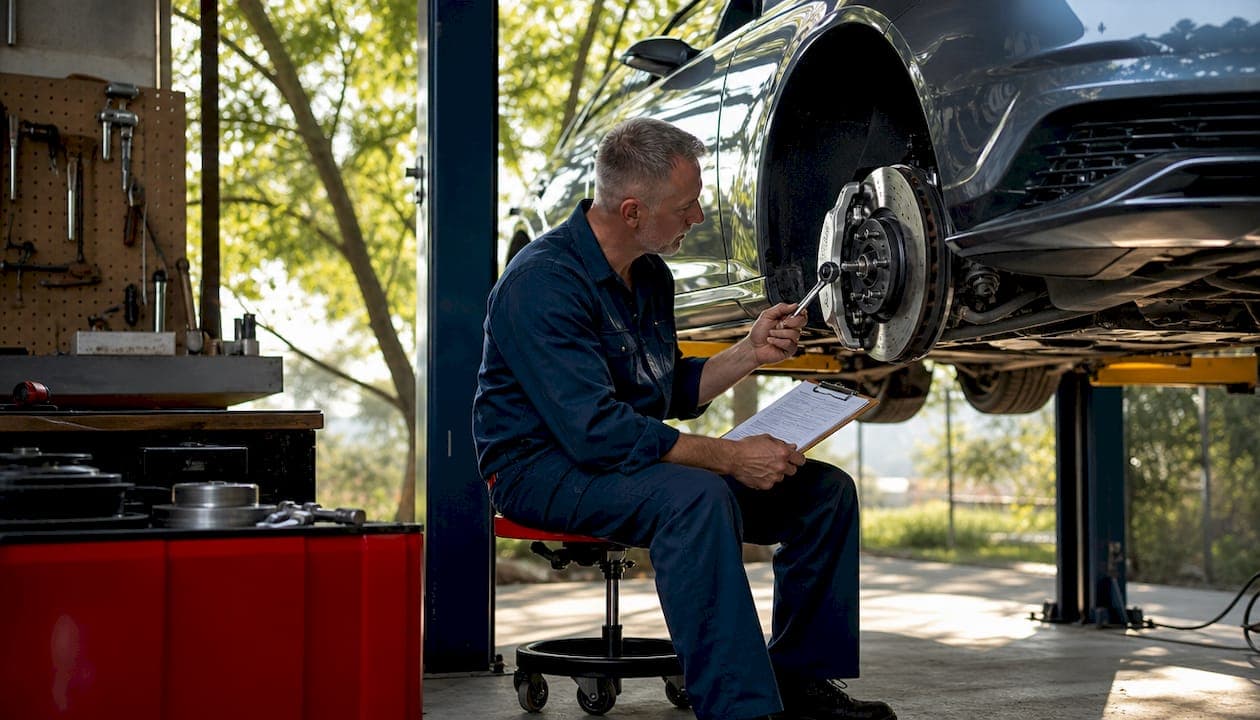
A brake replacement safety checklist is the structured set of steps, inspections, and torque specifications that prevents brake failure after a DIY pad or rotor swap. Skipping even one step, such as forgetting to compress the caliper piston fully or pressing the brake pedal with the caliper removed, can cause immediate system damage or delayed failure on the road. This guide covers every stage of the process, from workspace setup through post-installation inspection, using current 2026 maintenance standards and guidance from SAE International. DBC Brakes recommends following this checklist on every axle, every time, without exception.
What tools and workspace do you need before starting?
The right tools and a safe workspace are not optional. They are the first items on any brake maintenance checklist, because working on an unstable vehicle or with the wrong equipment creates hazards before the first bolt is turned.
Required tools
- Floor jack and a matched set of jack stands (never use a floor jack alone as a support)
- Torque wrench with the correct range for caliper bracket bolts and lug nuts
- C-clamp or dedicated caliper piston tool to compress the piston
- Brake cleaner spray for degreasing rotors and hardware
- Wire brush for cleaning caliper slide pin bores
- Mechanic gloves and safety glasses
Workspace conditions
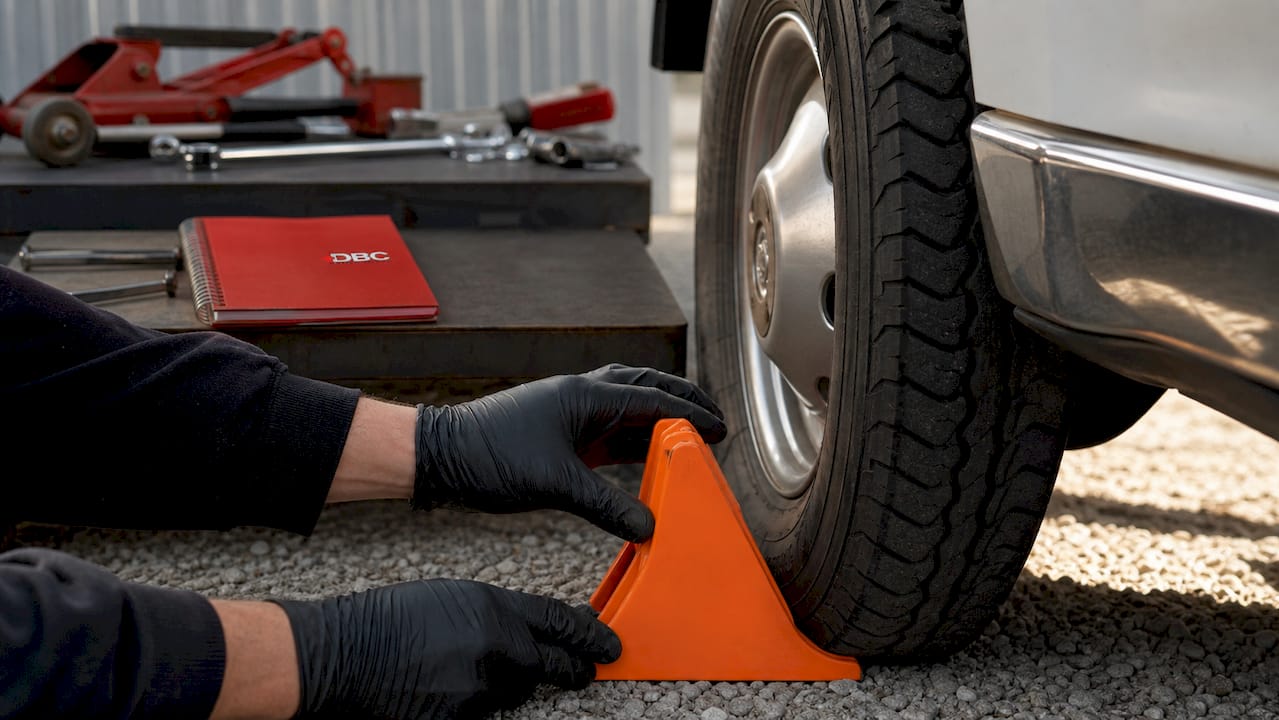
The vehicle must sit on a flat, level, paved surface. Apply the parking brake before lifting, and place wheel chocks on the tyres that remain on the ground. Good lighting is not a luxury. Shadows cause missed cracks, worn edges, and incorrectly seated hardware.
| Item | Minimum standard |
|---|---|
| Jack stand rating | Rated above vehicle's axle weight |
| Torque wrench | Calibrated; correct range for spec |
| Surface | Flat, paved, no slope |
| Lighting | Bright enough to read rotor markings |
| Cooling time | 30 minutes minimum after driving |
Pro Tip: Lay out every tool before lifting the vehicle. Searching for a missing C-clamp while a caliper hangs unsupported is how brake hoses get torn.
What are the step-by-step brake replacement safety checks?
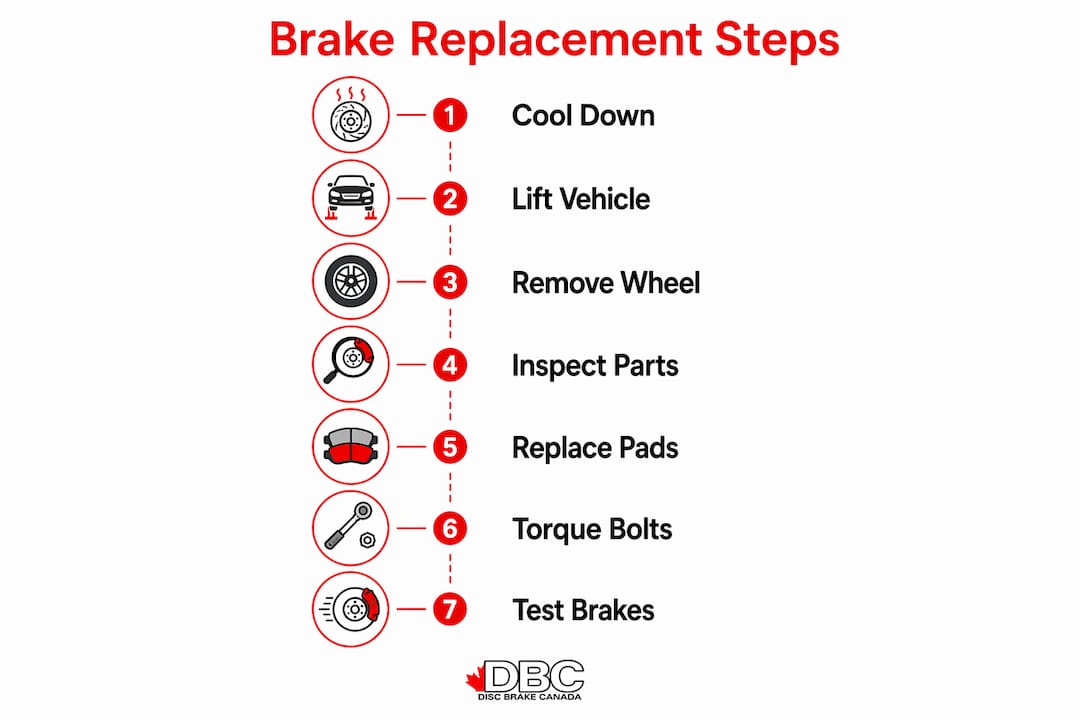
This section is the core of the brake replacement safety checklist. Follow the steps in order. Skipping ahead or reversing the sequence causes errors that are difficult to catch until the brakes fail.
-
Let the brakes cool. Brakes must cool for at least 30 minutes before any work begins. Hot rotors and calipers cause thermal burns and can warp if disturbed.
-
Remove the wheel. Loosen lug nuts before lifting the vehicle. Once on jack stands, remove the wheel fully and set it aside flat.
-
Inspect the rotor before removal. Look for deep scoring, cracks, or rust ridges. Measure rotor thickness at 4–8 points around the disc. Uneven readings indicate wear that causes pedal pulsation, even with new pads installed.
-
Remove the caliper carefully. Unbolt the caliper from its bracket. Support it with a zip tie or wire hanger looped to the suspension. Never let it hang by the brake hose. A stressed hose can develop internal tears that cause spongy pedal feel weeks later.
-
Check caliper slide pins. Pull each pin out and verify it moves freely by hand. Seized slide pins cause uneven pad wear and premature replacement. Clean the bores with a wire brush and apply fresh caliper grease before reinstalling.
-
Compress the caliper piston. Use a C-clamp or piston tool to push the piston fully back into the bore. Never press the brake pedal with the caliper removed. Doing so forces the piston out and can crack the caliper body.
-
Check brake fluid level. Compressing the piston pushes fluid back into the reservoir. Open the reservoir cap and watch the level. If it overflows, remove a small amount with a turkey baster before compressing. Brake fluid damages painted surfaces on contact, so keep a rag over the reservoir and surrounding bodywork.
-
Install new pads and hardware. Replace all anti-rattle clips and shims that came with the kit. Apply brake lubricant to the back of the pads and to slide pin contact points, not to the friction surface.
-
Check pad thickness before closing. Brake pads require replacement when friction material reaches 3–4 mm. New pads should measure well above this threshold. Confirm the measurement before reinstalling the caliper.
-
Torque all fasteners to spec. Caliper bracket bolts, caliper slide pin bolts, and lug nuts all have specific torque values listed in the vehicle's service manual. Incorrect torque risks brake failure. Over-torquing warps brackets; under-torquing allows bolts to back out under braking.
Pro Tip: Bed in new pads after installation using 8–10 controlled stops from 50 km/h down to 10 km/h, with 30 seconds of cooling between each. This transfers a thin, even layer of friction material onto the rotor and prevents glazing.
For a full walkthrough of the installation sequence, the DIY brake kit guide covers vehicle-specific steps in detail.
How do you identify and troubleshoot common brake replacement issues?
Even a careful installation can produce problems if underlying issues go undiagnosed. The brake safety checks routine list does not end when the wheel goes back on.
"A silent brake system does not guarantee safety. Subtle cues like changed pedal resistance or longer stopping distances often precede failures, sometimes without any audible warning at all."
Watch for these specific warning signs after a replacement:
- Pedal pulsation. A pulsing pedal under braking points to rotor thickness variation. This happens when rotors are not measured at multiple points during installation, or when old rotors are reused past their minimum thickness.
- Uneven pad wear. If one pad wears faster than its partner on the same caliper, a seized slide pin is the most likely cause. Poor-quality parts compound this problem by introducing inconsistent friction material density.
- Spongy pedal. Air in the brake lines or a damaged caliper piston seal produces a soft, spongy feel. Bleed the system if air entered during the job.
- Grinding noise. Grinding after a fresh pad installation usually means a pad is installed backwards, a shim is missing, or the rotor surface has a deep ridge the new pad cannot clear.
- Caliper piston leaks. A wet, oily film around the caliper boot indicates a failing piston seal. Replace the caliper before driving.
Electronic parking brake (EPB) systems require special attention. EPB systems need a scan tool to enter service mode before the piston can be compressed. Forcing the piston without activating service mode damages the electric motor inside the caliper. If your vehicle has an EPB and you do not have the correct scan tool, stop and consult a professional.
Pro Tip: Replace brake fluid every two years regardless of mileage. Brake fluid absorbs moisture over time, which lowers its boiling point and causes a spongy pedal under hard braking. This is one of the most overlooked items on any brake maintenance checklist.
How often should you inspect and maintain replacement brakes?
Brake inspection frequency guidelines vary by driving conditions, and following the right schedule prevents premature wear and unexpected failures.
Average drivers should inspect brakes annually or every 10,000–12,000 miles. Drivers in hilly terrain, heavy stop-and-go traffic, or cold Canadian winters need inspections every six months or every 6,000–10,000 miles. The difference matters because thermal cycling in severe conditions degrades pads and rotors significantly faster.
| Driving condition | Inspection interval |
|---|---|
| Average city or highway driving | Annually or every 10,000–12,000 miles |
| Hilly terrain or heavy stop-and-go | Every 6 months or 6,000–10,000 miles |
| Towing or hauling loads | Every 6 months minimum |
| Brake fluid flush | Every 2 years regardless of mileage |
Between scheduled inspections, a monthly visual check takes under five minutes:
- Look through the wheel spokes at the rotor surface. Rust is normal after rain, but deep grooves or cracks are not.
- Check pad thickness visually. If the friction material looks thinner than a loonie coin, schedule a full inspection.
- Press the brake pedal firmly while stationary. A solid, high pedal is normal. A pedal that sinks slowly indicates a fluid leak or master cylinder issue.
Always replace pads and rotors as a matched pair on the same axle. Mixing new pads with worn rotors, or vice versa, creates uneven contact that accelerates wear and reduces stopping power. For guidance on choosing quality brake parts that meet current standards, the investment in the right components pays off in longevity and safety.
Key takeaways
A complete brake replacement safety checklist, followed in sequence, is the single most effective way to prevent brake failure after a DIY installation.
| Point | Details |
|---|---|
| Cool before you work | Allow at least 30 minutes of cooling time before touching any brake component. |
| Torque to specification | Use a calibrated torque wrench on every fastener; over- or under-torquing causes failures. |
| Compress pistons correctly | Use a C-clamp or piston tool; never press the pedal with the caliper removed. |
| Inspect rotors at multiple points | Measure thickness at 4–8 locations to catch uneven wear before it causes pulsation. |
| Flush fluid every two years | Moisture-saturated brake fluid lowers boiling point and creates a spongy pedal. |
What I have learned from watching DIYers skip the checklist
The most common mistake I see is not a wrong torque spec or a forgotten shim. It is impatience. A driver finishes a pad swap in 45 minutes, skips the bed-in procedure, and then wonders why the brakes feel grabby for the next month. The checklist exists precisely because brake work has a sequence, and the sequence exists for physical reasons, not bureaucratic ones.
The second pattern I notice is over-confidence with used rotors. Drivers measure rotor thickness once, at one point, decide the rotor is fine, and move on. Measuring at a single point misses lateral runout and thickness variation entirely. A rotor can pass a single-point check and still cause pedal pulsation within 500 kilometres. Measure at 4–8 points, every time.
High-quality parts also matter more than most DIYers admit. Poor-quality brake components compromise braking performance in ways that are not always visible until the system is under stress. I have seen budget pads glaze within a few weeks of installation on vehicles that see regular highway driving. The cost difference between a budget kit and a quality kit is small compared to the cost of a repeat job or, worse, a collision.
Document every step. Write down the torque values you used, the pad thickness you measured, and the date of the job. That record becomes the foundation of your brake maintenance schedule for everyday vehicles and tells you exactly when the next inspection is due.
— Sam
Premium brake parts for your next replacement job
Sourcing the right parts is as important as following the checklist itself. DBC Brakes, a Canadian manufacturer, supplies premium brake kits with cross-drilled rotors engineered to resist warping under repeated thermal stress. Orders over $100 ship free across Canada, and every purchase comes with access to knowledgeable support, not automated responses.

Whether you drive a Ford, Chevrolet, or Pontiac, DBC Brakes carries vehicle-specific kits that meet current 2026 safety standards. The Chevrolet brake parts catalogue and Ford custom brake options are good starting points for matching components to your exact vehicle. Transparent pricing with no hidden fees means the number you see is the number you pay.
FAQ
What is a brake replacement safety checklist?
A brake replacement safety checklist is a sequential list of steps, inspections, and torque specifications that guides a DIYer through a safe pad and rotor swap. It covers workspace setup, component inspection, correct fastener torque, and post-installation verification.
How long should brakes cool before replacement?
Brakes must cool for at least 30 minutes after driving before any service work begins. Working on hot components risks thermal burns and can distort parts during installation.
When should brake pads be replaced?
Replace brake pads when the friction material measures 3–4 mm or less. At that thickness, stopping distance increases and rotor damage becomes likely.
Do electronic parking brakes need special tools for replacement?
Yes. Vehicles with electronic parking brakes require a scan tool to activate service mode before the caliper piston can be compressed. Skipping this step damages the electric motor inside the caliper.
How often should brake fluid be replaced?
Brake fluid should be flushed every two years regardless of mileage. Brake fluid absorbs moisture over time, which lowers its boiling point and causes a soft, spongy pedal under hard braking.