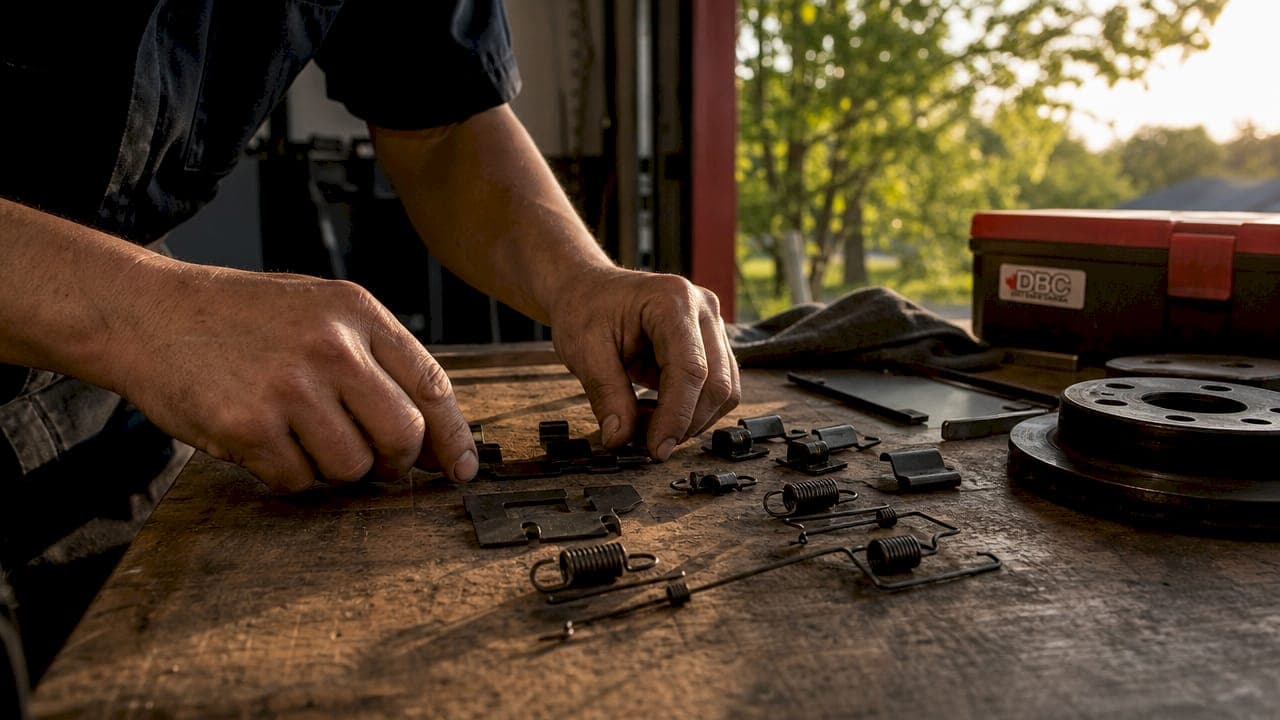
A brake hardware kit is defined as the collection of clips, springs, and shims that hold brake pads correctly within the caliper bracket and allow them to move, retract, and stay quiet during every stop. The role of brake hardware kit components is broader than most drivers realise. These parts are the most under-ordered product in the brake category, yet they prevent the top three post-service complaints: noise, uneven pad wear, and premature pad failure. A typical hardware kit costs around $15. That small investment offsets warranty labour and replacement parts costs that can run many times higher.
Hardware kits are not optional accessories. They are sacrificial components designed to wear out so that expensive caliper brackets do not. DBC Brakes and professional workshops treat hardware replacement as mandatory with every brake pad service, not as an upsell.
What does a brake hardware kit contain?
A complete brake hardware kit typically includes four categories of components, each with a specific mechanical job.
- Abutment clips (slide clips): These stainless steel clips press onto the caliper bracket ears and create a smooth, corrosion-free surface for the pad ears to slide against. Without them, the pad ears contact bare metal, causing binding and uneven wear.
- Anti-rattle clips: These spring-steel clips apply light tension to the brake pad, holding it firmly against the bracket so it cannot vibrate and rattle when the brakes are released.
- Pad retainer springs (spreader springs): These push the pad slightly away from the rotor after each brake application. That small retraction prevents constant rotor contact, which causes brake drag and accelerated wear on both the pad and rotor.
- Anti-squeal shims: These thin layers of rubber or metal bond to the back of the pad and absorb vibration before it reaches the caliper piston. They are the primary defence against high-pitched brake squeal.
Some kits are labelled "standard" and include only clips and shims. Others are labelled "complete" or "installation" kits and add caliper pin boots, brake grease, and spreader springs. The right choice depends on the vehicle and what the caliper design requires.
| Component | Material | Primary function |
|---|---|---|
| Abutment clip | Stainless steel | Smooth pad sliding surface |
| Anti-rattle clip | Spring steel | Prevents pad vibration and rattle |
| Pad retainer spring | Spring steel | Retracts pad to prevent brake drag |
| Anti-squeal shim | Rubber/metal laminate | Absorbs vibration, reduces squeal |
| Caliper pin boot | Rubber | Seals caliper guide pin from moisture |
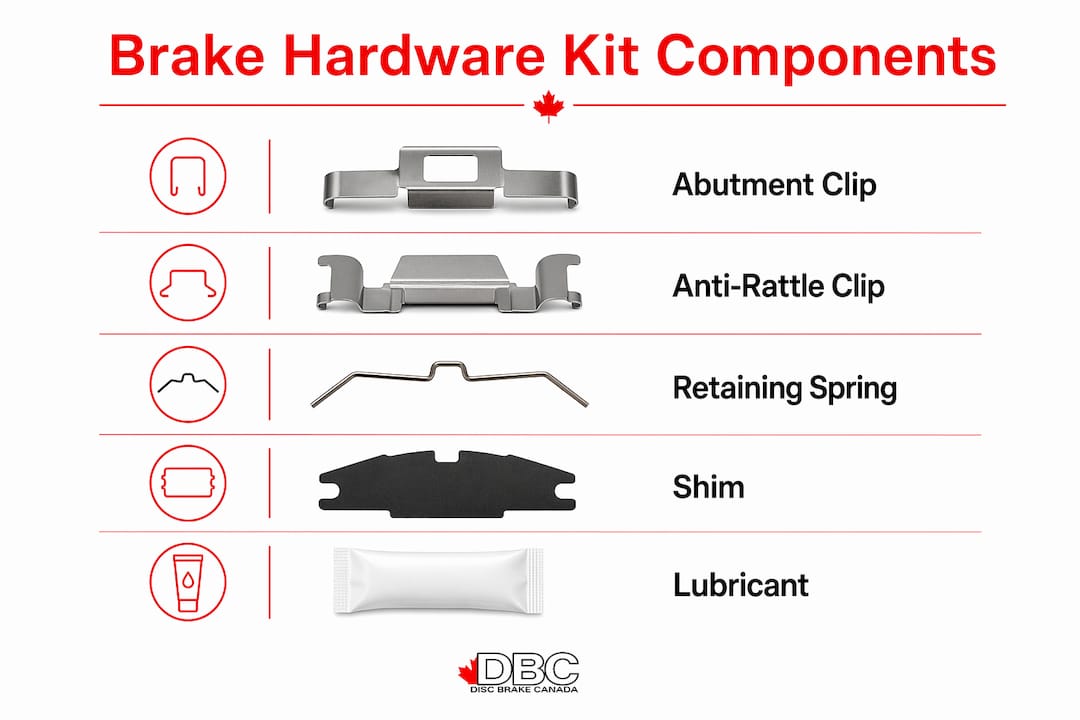
Material choice matters. Stainless steel resists the heat and corrosion that destroy ordinary steel clips within one or two brake service cycles.
Why skipping hardware replacement causes brake problems
Heat, corrosion, and debris accumulation destroy brake hardware over time. A clip that looked fine when removed has already lost spring tension from repeated thermal cycling. Reinstalling it guarantees the same problems the driver brought the vehicle in to fix.
Reusing worn brake hardware causes pad rattling, uneven wear, binding, and failure to retract. Each of those failures compounds the next. A pad that binds wears faster on one edge. A pad that does not retract drags against the rotor, generating heat that glazes the pad surface and warps the rotor.
Hardware kits act as sacrificial components that protect the caliper bracket from metal-on-metal contact. When the clips wear through, the pad ears cut grooves directly into the bracket. Replacing a grooved bracket costs far more than a $15 hardware kit. Professional workshops and fleet operators treat hardware replacement as the gold standard for reliable, long-lasting brakes.
Brake noise is the most common post-service complaint, and worn or missing hardware is the leading cause. Anti-rattle clips that have lost tension allow the pad to vibrate at low frequencies, producing a rattle on rough roads. Worn shims allow high-frequency vibration to pass through the pad backing plate, producing squeal. New hardware restores noise control by eliminating the gaps and looseness that vibration needs to develop.
Pro Tip: If a new clip does not snap firmly onto the caliper bracket, the problem is bracket wear, not a defective clip. Inspect the bracket abutment for grooves before completing the job.
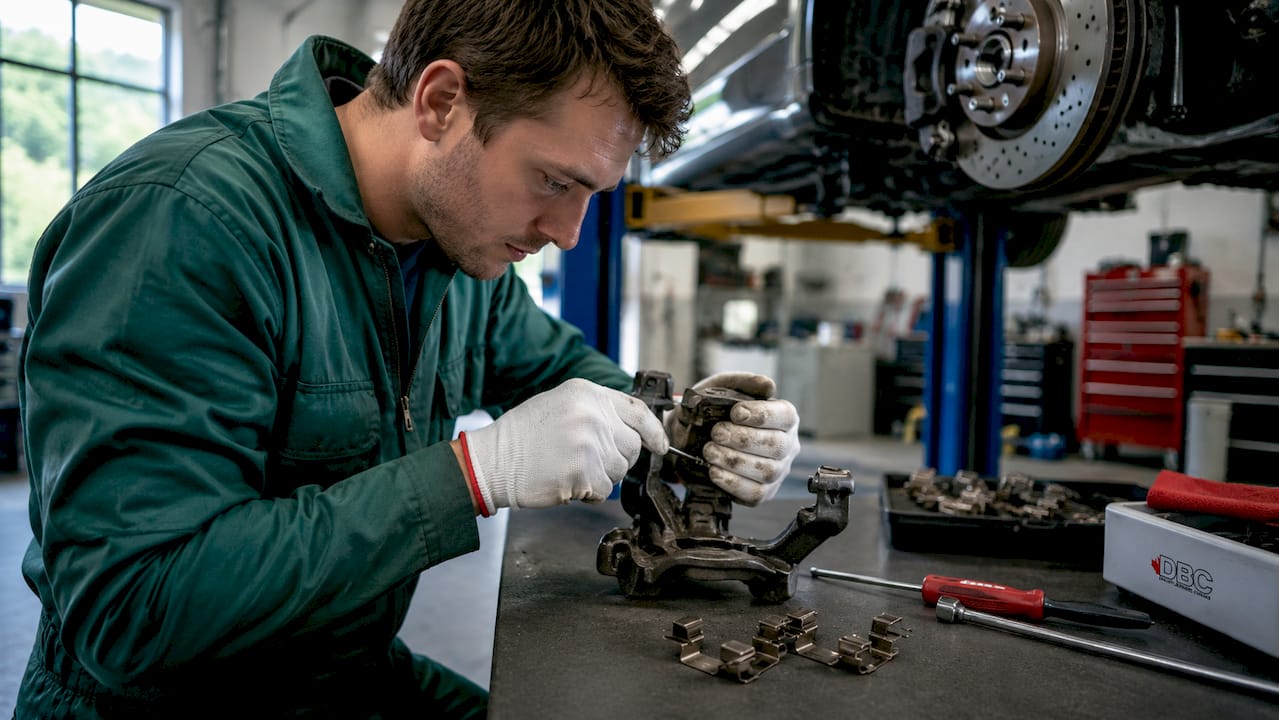
The cost argument for replacing hardware is straightforward. A $15 kit prevents a warranty comeback, a set of replacement pads, and the labour to remove and reinstall the caliper a second time. Skipping the hardware to save time costs more time.
Do brake pads come with hardware kits included?
Brake pad sets inconsistently include hardware kits. In 2026, some manufacturers omit them to reduce packaging costs, while others include a partial set of clips but not shims or springs. The inclusion depends on the pad brand, the vehicle model, and where the pads are purchased.
Follow these steps before starting any brake job:
- Open the pad packaging before disassembly. Check whether clips, shims, and springs are included. Do not assume they are present because the box is large.
- Compare the included hardware to the old hardware. Count the clips and confirm the shim design matches the original. A partial kit is not a complete kit.
- Consult the vehicle repair manual. Some caliper designs require specific spreader springs or pin boots that generic kits do not include.
- Order a vehicle-specific hardware kit if anything is missing. Vehicle-specific kits are widely available and match the exact bracket geometry of the application.
- Never reuse old hardware, even if it appears undamaged. Loss of spring tension is invisible to the eye but causes noise and wear within weeks of the brake job.
- Confirm the kit is complete before the vehicle goes on the lift. Discovering a missing component mid-job wastes time and may require reassembling the caliper with old hardware.
DIY mechanics frequently assume hardware comes with pads. That assumption is the single most common cause of post-repair noise complaints. Ordering a separate hardware kit costs little and removes all uncertainty.
How to install brake hardware correctly
Correct installation determines whether new hardware actually works. The most common DIY error is installing new clips onto dirty, corroded bracket abutments. Rust and brake dust prevent the clip from seating flush, which reintroduces the binding the new hardware was meant to eliminate.
Cleaning bracket contact points to bare metal before installing new hardware is the single most important installation step. Use a wire brush or abrasive pad to remove all rust and debris from the bracket ears. The clip must sit flat against clean metal to function correctly.
- Remove all old clips, shims, and springs completely. Do not layer new hardware over old.
- Clean bracket abutments to bare metal with a wire brush. Confirm no rust ridges remain.
- Apply a thin film of brake-specific lubricant to the bracket abutment surfaces before pressing clips into place. Do not use general-purpose grease, which degrades under brake heat.
- Press abutment clips firmly until they snap and seat flat. A clip that rocks or sits proud will allow pad movement and noise.
- Install anti-squeal shims with the correct orientation. Most shims are directional; the arrow or chamfer faces the direction of rotor rotation.
- Install spreader springs in the correct position for the caliper design. Refer to the kit instructions or a vehicle-specific guide.
- After assembly, pump the brake pedal several times to seat the pads before moving the vehicle.
Pro Tip: Refer to a step-by-step installation guide specific to your vehicle before starting. Caliper designs vary significantly, and the correct spring orientation is not always obvious from inspection alone.
Verifying clip tension after installation takes 30 seconds. Push each pad by hand and confirm it slides smoothly and returns to position without sticking. A pad that sticks after installation will drag against the rotor from the first drive. The wheel hardware principles that apply to brake components confirm that fit and tension are what separate a quiet, long-lasting brake job from one that generates a callback within a month.
Key takeaways
A brake hardware kit is a mandatory replacement item at every pad change, not an optional add-on. Skipping it guarantees noise, uneven wear, and bracket damage that costs far more to correct.
| Point | Details |
|---|---|
| Hardware kits are sacrificial parts | Clips and shims wear out intentionally to protect caliper brackets from groove damage. |
| Reusing old hardware causes noise | Worn clips lose spring tension, producing rattle and squeal within weeks of a brake job. |
| Pad sets often exclude hardware | Confirm kit contents before disassembly and order a vehicle-specific kit if anything is missing. |
| Installation surface prep is critical | Clean bracket abutments to bare metal before fitting new clips to prevent binding and drag. |
| Cost justification is clear | A $15 hardware kit prevents warranty comebacks, repeat labour, and replacement pad costs. |
Why I stopped treating hardware kits as optional
The most consistent pattern I have seen across brake jobs is this: the driver complains of noise or uneven wear, the pads are replaced, and the complaint returns within a month. In almost every case, the hardware was reused.
I have watched a single worn abutment clip cut a visible groove into a caliper bracket in less than 10,000 kilometres. Replacing that bracket costs more than the original brake job. The $15 hardware kit that would have prevented it was sitting on the parts shelf, unordered.
DIY mechanics often treat clips and shims as packaging material rather than functional parts. That misunderstanding is understandable because the clips look simple. But a clip that has lost 20% of its spring tension does not look different from a new one. The difference shows up as noise and wear, not as a visible defect.
My recommendation is straightforward: order the hardware kit at the same time as the pads, every time, without exception. Treat it as part of the pad cost, not as a separate decision. A complete brake system overhaul that includes fresh hardware is a system overhaul. A pad swap without hardware is a partial repair.
— Sam
Quality brake hardware kits, available for Canadian drivers

DBC Brakes, operating through CrossDrilledRotors.ca, stocks vehicle-specific brake hardware kits alongside complete brake pad and rotor sets for a wide range of makes and models. Every kit is matched to the vehicle's caliper bracket geometry, so clips seat correctly and shims fit without modification. Free shipping applies to orders over $100, and the support team provides direct answers on fitment questions without automated responses. For drivers who want the full brake job done right the first time, sourcing pads and hardware together from a single Canadian supplier removes the guesswork from parts compatibility.
FAQ
What is the role of a brake hardware kit?
A brake hardware kit holds brake pads in the correct position within the caliper bracket, allows smooth pad movement, retracts pads after braking, and dampens vibration to prevent noise. Without it, pads bind, rattle, and wear unevenly.
Does every brake pad set include hardware?
No. In 2026, many brake pad manufacturers omit hardware kits or include only partial sets to reduce costs. Always inspect the packaging and order a vehicle-specific kit separately if clips, shims, or springs are missing.
Can old brake hardware be reused?
Reusing old hardware is not recommended. Clips and springs lose spring tension from heat cycling, and that loss is invisible to the eye. Reinstalling them causes the same noise and wear issues the brake job was meant to correct.
How do I know if my caliper bracket needs inspection?
If a new abutment clip does not snap firmly onto the bracket and sits loose or rocks, the bracket abutment has worn grooves. That is a bracket problem, not a clip defect, and the bracket requires inspection before completing the installation.
What lubricant should be used with brake hardware?
Use a brake-specific, high-temperature lubricant on bracket abutment surfaces and caliper guide pins. General-purpose grease breaks down under brake heat and can contaminate the pad friction surface, causing brake fade.