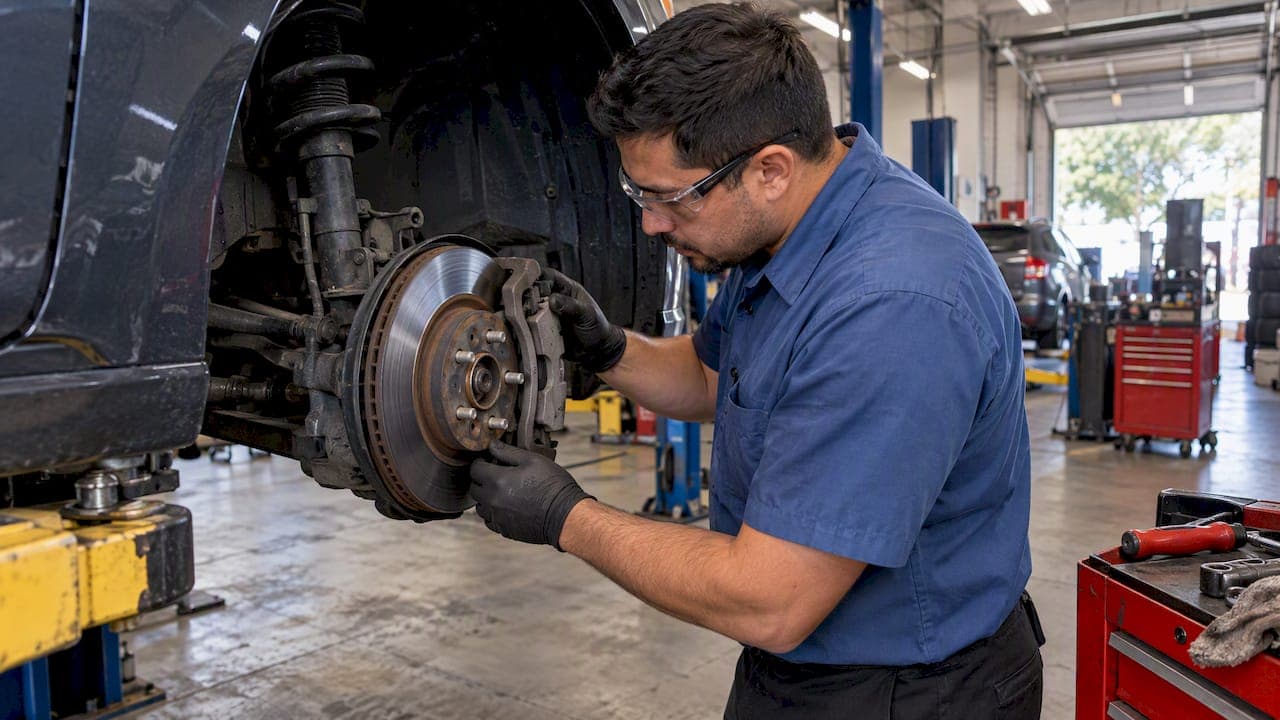
Light squeaks during the first few hundred kilometres can be normal. Loud grinding or persistent squeal is not normal; get the brakes inspected. Mild, occasional noise during bedding-in, about 200 to 300 miles, can be expected. Constant scraping, grinding, or pedal pulsation signals a problem that needs prompt attention.
TL;DR:
- Using semi-metallic pads increases noise levels compared to ceramic or organic options, but installation features like shims and chamfers can mitigate this issue.
- Old, glazed rotors paired with new pads are a frequent cause of squeal, especially if the rotors are grooved or have uneven runout.
- Normal bedding-in involves about 200 to 300 miles of mixed driving, during which slight squeaks typically diminish and do not persist after this period.
- Persistent noise such as grinding or pedal pulsation indicates installation or rotor problems that require immediate professional inspection.
- Proper hardware installation, chosen pad compounds, and rotor maintenance significantly reduce the chances of noise recurrence and may prevent the need for costly repairs.
Table of Contents
- Common causes of noise after new pads or rotors are installed
- What's normal during bedding-in and when noise is a problem
- A safe troubleshooting checklist you can run at home
- When to return to the installer or book a mechanic
- Installation and parts choices that reduce noisy new brakes
- Trade-offs between noise, performance, and price
- Consider a quality brake kit if noise keeps coming back
- FAQ
- Sources
Common causes of noise after new pads or rotors are installed
New brake noise usually traces back to one of five sources. Pad compound matters: semi-metallic pads run louder than ceramic or organic pads because of their metal content, though engineering features like shims, slots, and chamfers reduce that noise without giving up stopping power. Rotor condition matters just as much. Old, glazed rotors paired with new pads is a leading cause of squeal, since the new pad material cannot form a proper transfer layer on a hardened, glazed surface. Grooves and runout on a worn rotor compound the issue.
Hardware plays a role too. Missing anti-squeal shims, worn pad clips, or dry slide pins let the pad vibrate against the caliper and rotor. Installation errors cause noise directly: a pad sitting too close to the rotor at rest, or a caliper that is not sitting square, creates contact that should not exist. Cold mornings and road contamination (moisture, salt, brake dust) add a layer of temporary noise on top of any of these causes.
- Pad compound and hardware condition set the baseline noise level.
- Old or glazed rotors paired with new pads are a frequent, preventable cause of squeal.
- Moisture and cold temperatures often explain a noise that disappears after a few stops.
Our semi-metallic brake pads selection shows how compound choice shifts the balance between noise, dust, and braking feel.
What's normal during bedding-in and when noise is a problem
New pads need a bedding-in period of about 200 to 300 miles, roughly 300 to 500 kilometres, of mixed driving. During that window, the pad material deposits a thin, even layer onto the rotor surface. This transfer layer is what makes braking smooth and quiet, and it takes repeated light-to-moderate stops to build properly.
The normal pattern looks like this: a light, occasional squeak that shows up on the first few stops and fades over days or a couple of weeks. It should get quieter, not louder, as the miles add up.
Abnormal signs look different. Continuous scraping when the vehicle is parked or rolling without braking, loud grinding under braking, pedal pulsation, or any change in how firm the brake pedal feels are not part of bedding-in. These point to a likely installation or rotor issue rather than a settling-in process. If noise has not improved after that mileage window, it is time to book an inspection rather than wait it out. For a closer look at how wear and bedding-in interact over the life of a pad, see our guide on what brake pad wear tells you.

A safe troubleshooting checklist you can run at home
Before calling a shop, a short driveway check can narrow down the cause. Work safely: park on level ground, set the parking brake, and chock the wheels before touching anything near the brakes.
- Inspect pad thickness through the wheel spokes; a pad worn down to a thin sliver needs replacing regardless of noise.
- Look at the rotor surface for a shiny, glazed look or visible grooves.
- Check for a missing anti-squeal shim or a pad clip that looks bent or loose.
- Look for dry, dirty slide pins, which often show as uneven pad wear side to side.
- Drive at low speed and brake gently, then moderately, noting whether the noise changes with speed or pedal pressure.
- Note whether the noise happens only on the first stop of the day or on every stop.
A technician commonly fixes noisy new brakes by cleaning the contact points between pad and caliper, re-lubricating the slide pins, re-seating or replacing anti-squeal shims, and re-torquing the wheels to the correct spec. These are quick jobs, often done in under an hour.
Pro Tip: If you hear metal-on-metal grinding or notice the brakes feel weaker than before, stop troubleshooting and get the vehicle to a shop the same day.
Our walkthrough on diagnosing drilled rotor noise covers rotor-specific checks in more detail if that's the noise you're hearing.
When to return to the installer or book a mechanic
Some symptoms justify an inspection right away rather than a wait-and-see approach: grinding, metal-on-metal contact, a pedal that sinks or pulses, or scraping that continues with the brakes untouched. Grinding specifically points to metal-on-metal contact or significant rotor damage, not a normal part of any brake job.
A shop working through this will pull the wheel, measure rotor runout and thickness, check caliper movement, and inspect all the hardware. Likely fixes range from resurfacing or replacing a rotor, to swapping worn or missing hardware, to switching to a quieter pad compound, to rebuilding a sticking caliper. Minor fixes like lubrication and hardware replacement are quick and low-cost. Rotor replacement takes longer and costs more, since it usually comes paired with new pads. Our piece on diagnosing squeal before buying parts breaks down which fixes apply to which symptoms.
Installation and parts choices that reduce noisy new brakes
A lot of post-install noise is preventable at the point of installation. Picking the right pad compound for how the vehicle is driven sets the tone before the car even leaves the shop; a daily driver rarely needs the loudest, most aggressive compound available. Rotors matter too: resurfacing or replacing a glazed or worn rotor instead of installing new pads onto an old surface prevents the transfer-layer mismatch that causes much of this noise in the first place.
- Ask for anti-squeal shims, chamfered edges, or slotted pads where the vehicle and pad design support them.
- Confirm slide pins and all metal-to-metal contact points are lubricated, never the pad's friction surface.
- Request rotor runout and thickness checks as a standard part of the job, not an upsell.
Pro Tip: Ask the shop directly whether these steps are part of their standard brake job. A shop that does this routinely rarely sees repeat squeal complaints.
Our guide to fixing glazed brake pads includes a short bedding-in procedure worth following after any pad or rotor swap.
Trade-offs between noise, performance, and price
High-performance pads can run louder by design, and that is a trade-off, not a defect. Quietness is often a choice: a softer, quieter compound costs some outright stopping power, while an aggressive compound buys performance at the cost of some noise. Most noise complaints, though, trace back to something simpler. Resurfacing, correct hardware, and proper lubrication are inexpensive steps that solve the majority of squeal problems. If a shop stands behind its work, the first move should be asking them to recheck the job, not buying new parts to chase a noise that a ten-minute hardware check might solve.
— Sam
Consider a quality brake kit if noise keeps coming back
When bedding-in has passed and the noise hasn't settled down, swapping to a matched set of parts is a practical next step. We build our Performance XDB, Premium Black Kote, and Performance SS kits around cross-drilled rotors engineered to resist the glazing that causes much of this noise, paired with premium pad compounds and multilayer shims.

- Matched rotor and pad sets reduce the mismatch that causes transfer-layer problems.
- Multilayer shims and premium compounds cut vibration-driven squeal at the source.
- Free shipping applies on orders over a certain minimum, with full pricing shown before checkout.
Browse our brake rotors, pads, and kits to find a set matched to your vehicle, or check shipping details before placing an order.
FAQ
Is it normal for brand new brakes to make noise?
Yes, a light, occasional squeak during the first stops is normal and comes from the pad bedding into the rotor. Loud, constant squeal or any grinding is not normal and should be checked.
How long do brakes make noise after replacement?
Noise typically fades within the bedding-in period of about 200 to 300 miles, roughly 300 to 500 kilometres. If it hasn't improved by then, the cause is likely an installation or rotor issue rather than normal break-in.
How long do new brake pads take to settle in?
New pads generally need 200 to 300 miles of mixed, moderate driving to form a proper transfer layer on the rotor. Repeated gentle-to-moderate stops during this window, rather than hard braking, help the process along.
Why do brakes still make noise after replacing pads?
Lingering noise after a pad swap often comes from old, glazed rotors that were left in place, missing or worn anti-squeal hardware, or dry slide pins. Grinding specifically points to metal-on-metal contact or rotor damage and needs prompt inspection rather than waiting it out.
Sources
- Squeaky Brakes New Pads | Nick's Tire & Auto Cleveland
- Raybestos expands performance rotor coverage | The Brake Report
- What is the grinding noise coming from my brakes? | The Globe and Mail