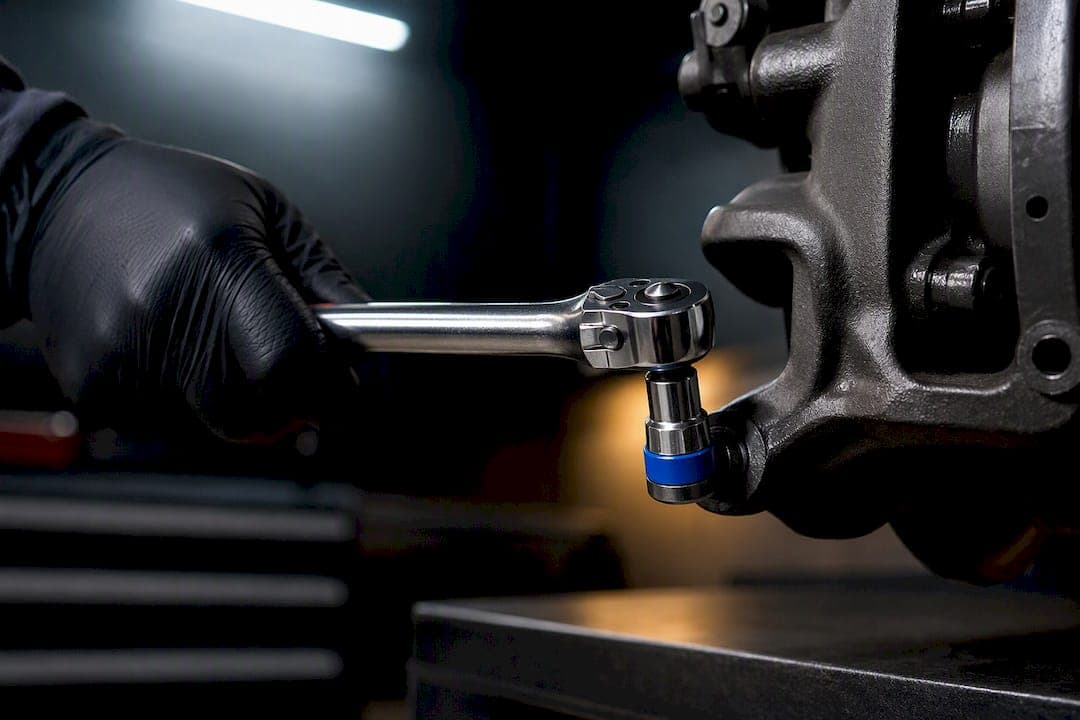
There is no single correct caliper bolt torque for every vehicle. The manufacturer spec always wins over a generic number. As a rough guide only, guide and pin bolts often fall between 15 and 30 ft·lb, while caliper bracket bolts often run from 75 to 130 ft·lb. Check the quick-reference table below, then confirm the exact figure in the OEM manual by VIN before tightening anything.
TL;DR:
- Always confirm the exact torque specification for your vehicle's make, model, and year through the OEM manual, VIN lookup, or a reputable dealer.
- Guide and pin bolts typically require 20 to 25 ft·lb, while caliper bracket bolts often demand around 69 to 80 ft·lb, but these ranges are not interchangeable across different vehicle brands.
- Use a calibrated torque wrench matching the bolt's torque range and follow the proper tightening sequence and procedure to ensure safety and correctness.
- Recheck torque and perform a short test drive after installation, paying attention to brake pedal feel and noise that could indicate incorrectly torqued bolts.
- Follow manufacturer guidelines on threadlocker and bolt reuse, replacing any damaged or heavily corroded fasteners to prevent failure or costly repairs.
Table of Contents
- Quick-reference torque ranges for caliper bolts
- How to find the exact torque spec for your vehicle
- Step-by-step caliper bolt torquing procedure
- Threadlocker, bolt reuse, and OEM notes
- Choosing the right torque wrench and sockets
- Diagnosing torque mistakes before they become a problem
- Why model-specific torque matters more than a ballpark number
- Restoring stopping power after a caliper job
- Sources
- FAQ
Quick-reference torque ranges for caliper bolts
Caliper fasteners vary by bolt type, not just by vehicle. The table below groups the most common ones with example values drawn from OEM data.
| Bolt type | Typical range (Nm) | Typical range (lb·ft) | Example source value |
|---|---|---|---|
| Caliper guide/pin bolts | 27 Nm | 20 to 25 ft·lb | Acura TSX front guide pin bolts, 27 Nm (20 ft·lb) |
| Caliper bracket/mounting bolts | 94 Nm | 69 to 80 ft·lb | Tesla Model 3 front caliper-to-knuckle bolts, 94 Nm (69.3 lb·ft) |
| Banjo/hose bolts | 5 Nm | 3.7 to 31.0 ft·lb | Tesla Model 3 hose-to-caliper bolts, 42 Nm (31.0 lb·ft); some bracket hose fittings as low as 5 Nm |
These ranges are indicative only. A Chrysler Crossfire caliper guide bolt and a Tesla Model 3 bracket bolt are not interchangeable specs, even though both sit under the same "caliper bolt" label. Always confirm the number for your exact make, model, and year before you pick up a wrench.
How to find the exact torque spec for your vehicle
Guessing from memory or from a forum thread is how bolts end up stripped or loose. The safest path runs through documentation tied to your specific vehicle.
- Look up the OEM service manual by VIN through the manufacturer's own portal or an authorized dealer, since torque values are tied to model year and trim.
- Use a dealer service department or a reputable repair database if the manufacturer's own manual is not publicly available.
- Read the torque table carefully: check the unit (Nm or lb·ft), any reuse or replace flag, and notes about angle torque or threadlocker.
- Treat forum numbers as a starting point only, and cross-check them against a service manual or dealer printout before trusting them.
OEM tables, like the one in the Tesla Model 3 service manual, list tool recommendations and reuse notes alongside the torque figure. A bare number without that context is missing half the instruction.
Step-by-step caliper bolt torquing procedure
Getting the number right only matters if the procedure around it is also correct.
- Inspect the threads on the bolt and the housing, clean off debris or old threadlocker, and replace any fastener the manual flags as single-use.
- Hand-start each bolt to avoid cross-threading, then snug it down by hand before reaching for a tool.
- Set the torque wrench to the specified value and tighten in the sequence the manual calls for, working evenly across bolts rather than fully tightening one at a time.
- Where an angle-torque step is specified, apply the initial torque first, then rotate to the stated angle rather than adding more torque by feel.
- Recheck each bolt against the spec once the sequence is complete.
Pro Tip: After torquing, pump the brake pedal a few times before moving the vehicle, then take it for a short, controlled test drive and recheck torque if anything felt off.
A pedal that feels soft afterward, or a knock from the wheel area on the test drive, means something needs a second look before the vehicle goes back into regular use.
Threadlocker, bolt reuse, and OEM notes
Not every caliper bolt gets the same treatment on reinstall, and the manual is the only reliable guide to which is which.
- Some OEM procedures call for threadlocker at a specific strength, and using the wrong strength, such as a permanent red formula on a bolt meant to come apart again, can damage the bolt or the knuckle on removal.
- A bolt marked for replacement in the service manual, or stamped with a single-use marking, should never go back in a second time regardless of how it looks.
- Guide pin bolts are often reused if they show no wear, while bracket bolts are more frequently listed as replace-only items.
- When the manual is silent on reuse, replace any bolt that shows stretching, corrosion, or damaged threads rather than risk it.
Choosing the right torque wrench and sockets
The torque number is only as good as the tool applying it.
- Pick a torque wrench whose working range brackets the target value, since accuracy drops near the top or bottom of a wrench's scale.
- Use a 3/8-inch drive wrench for lighter bolts like guide pins, and step up to a 1/2-inch drive for higher-torque bracket bolts.
- Match the socket type to what the manufacturer specifies, since some caliper bolts take external Torx rather than a standard 12-point or hex socket.
- Have the wrench calibrated on the schedule the manufacturer recommends, and store it at its lowest setting when not in use.
Pro Tip: A click-type wrench that has not been calibrated in over a year can be off by enough to matter on a bolt with a narrow torque range.
Diagnosing torque mistakes before they become a problem
Both too loose and too tight cause trouble, just in different ways.
- Under-torqued bolts often show up as a knocking or rattling noise from the wheel, or a caliper that sits visibly crooked against the rotor.
- Over-torqued bolts can stretch or snap under later stress, and may strip the threads in the knuckle, which usually means a costlier repair.
- A pedal that feels spongy or a brake that pulls to one side after a caliper job is worth checking immediately rather than waiting.
- If a bolt has sheared, a bracket shows cracking, or the knuckle threads feel damaged during removal, hand the job to a qualified shop rather than continuing.
- After any correction, recheck the torque, take a short test drive, and listen and feel for anything unusual before resuming normal driving.
Why model-specific torque matters more than a ballpark number
A Tesla Model 3 bracket bolt at 94 Nm and an Acura TSX guide pin bolt at 27 Nm sit at opposite ends of the same job description. Treating "caliper bolt torque" as one number is how bolts end up over- or under-clamped. The service manual for your specific vehicle is the only document that accounts for bolt grade, thread pitch, and what the fastener actually clamps.
Readers who want more background on why sliding and fixed calipers call for different hardware can check our guide to brake caliper types, and anyone unfamiliar with torque units in general can start with our plain-language torque explainer. When the spec is unclear or the hardware looks questionable, a dealer or a qualified shop with calibrated tools is the safer call than a guess.
— Sam
Restoring stopping power after a caliper job
Getting the torque right is only part of the job. If the rotors underneath are warped, scored, or simply worn past spec, correct torque on a caliper bolt will not fix a pedal that still pulses or a stopping distance that still feels long. Cross-drilled rotors engineered to resist warping are sold as complete kits with inclusive pricing and no hidden fees at checkout. Orders over $100 ship free, and support comes from knowledgeable staff. Browse the Performance XDB, Premium Black Kote, and Performance SS kits to find rotors that match your vehicle before your next caliper service.

Sources
Torque values above come from the Tesla Model 3 service manual, an OEM table with the highest authority for that model. Other figures reflect published repair-spec listings for models such as the Acura TSX and Chrysler Crossfire, included to show how much bolt torque varies between makes. Vehicle-spec listings, such as those for a 2012 Volkswagen Passat, further illustrate why a VIN-specific lookup matters more than a generic number.
- Torque Specifications - Brakes (Tesla Model 3 service manual, 2024)
FAQ
How tight should a brake caliper bolt be?
The correct tightness depends on the bolt type and the vehicle, so there is no universal number. Guide and pin bolts often sit in the 20 to 25 ft·lb range, while bracket bolts often run much higher, such as the 69.3 lb·ft specified for a Tesla Model 3. Always confirm the figure in the service manual for your specific vehicle.
Is it necessary to torque brake caliper bolts?
Yes, torquing to spec is necessary because these bolts hold a safety-critical part in place under repeated stress. A bolt tightened by feel instead of with a torque wrench risks coming loose or being overstressed, either of which can damage the caliper or the knuckle.
What happens if you over torque caliper bolts?
Over-torquing can stretch or snap the bolt, or strip the threads in the caliper bracket or knuckle. Either outcome usually means a more expensive repair than simply retorquing to the correct spec would have been.
Should I Loctite caliper bracket bolts?
Only when the manufacturer's procedure calls for it, and only at the strength specified. Using a threadlocker that is stronger than what the manual calls for, such as a permanent formula on a bolt meant to be removed again, can damage the bolt or the housing during future service.