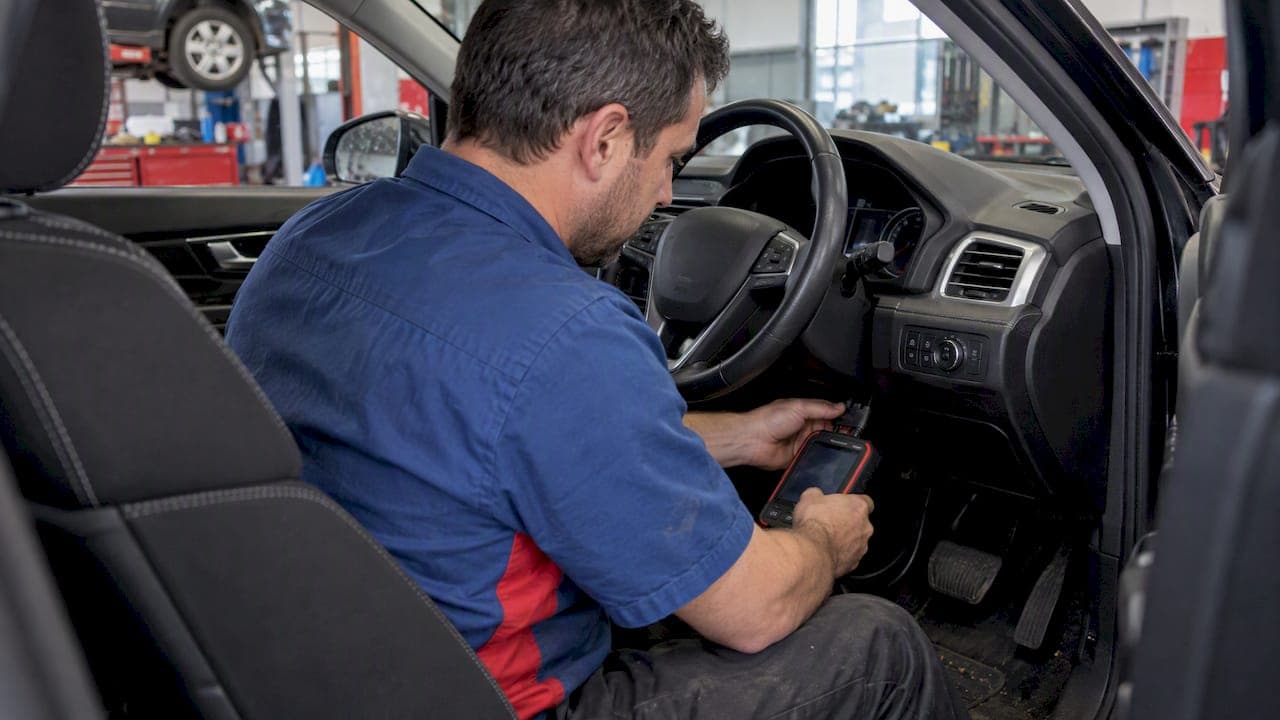
Most vehicles use one of two reset paths. A manual instrument-cluster reset works on many cars once a new sensor is installed and no other fault is stored. Other vehicles, including several GM models, require a diagnostic tool or dealer visit because the pad-life system will not accept a manual reset. The reset itself, once the system is ready, usually completes quickly.
TL;DR:
- Manual instrument-cluster resets work on many vehicles, but some GM models require a diagnostic tool or dealer visit if the system blocks manual reset attempts.
- A successful manual reset typically takes only a few minutes once the sensor is installed and no other faults are active in the vehicle.
- Troubleshooting failed resets involves checking connector seating, existing fault codes, and physical contact points, with codes needing clearing before a reset can succeed.
- Basic OBD-II scanners often lack the manufacturer-specific functions needed for pad-life updates, requiring professional-grade tools or dealer services for some systems.
- Always support the vehicle safely with proper tools and ensure new sensors and harnesses are installed correctly to prevent intermittent faults.
Table of Contents
- Manual reset steps using the instrument cluster
- When a diagnostic tool or dealer visit is required
- Troubleshooting a warning that won't clear after replacement
- Tools, equipment and safety checklist for DIY resets
- Getting the connector and contacts right the first time
- Where to find replacement pads, rotors, and sensor-compatible parts
- FAQ
- Sources
Manual reset steps using the instrument cluster
Before starting, confirm three things. The new sensor is installed and connected. No other warning lights are on. The ignition is on, engine off, for the whole procedure.
Many vehicles support this kind of reset directly from the instrument cluster, using the trip button or steering-wheel controls, according to HELLA's service guidance. The general sequence looks like this.
- Turn the ignition to the on position without starting the engine.
- Use the trip reset button or steering-wheel scroll controls to open the instrument-cluster menu.
- Navigate to the Service or Brake menu, depending on the vehicle.
- Select the correct axle, front or rear, if the system asks.
- Press and hold the reset or trip button until the display shows a progress bar.
- Wait for the "reset successful" message or equivalent confirmation.
Some vehicles use physical buttons, others use a thumbwheel stalk behind the cluster. The menu wording varies by model, but the pattern is consistent: ignition on, find the service menu, hold to reset. Once the new sensor is fitted and no other check-control messages are present, HELLA notes the process typically finishes in a few minutes.
If no reset option appears in the menu, two things are worth checking first. One, confirm the sensor connector is fully seated. Two, check for other stored warnings, since a cluster will often hide the brake-service menu while a different fault is active. If the menu still will not appear, the vehicle likely needs a diagnostic tool, covered next.
When a diagnostic tool or dealer visit is required
Some manufacturers skip the manual reset option entirely. Certain GM vehicles use a Brake Pad Life Monitor that needs a diagnostic tool or dealer-level reset when the sensor has not physically tripped or the system's own algorithm blocks a manual override, according to GMC's support documentation. These systems estimate pad life from usage patterns rather than a simple wear-contact circuit, so the dashboard percentage will not update from the instrument cluster alone.
A few signs point to this situation:
- No Service or Brake option appears anywhere in the cluster menu.
- The pad-life percentage stays fixed after a manual reset attempt.
- The owner's manual specifically mentions a dealer or scan-tool reset for brake-pad life.
Readers have three realistic options at that point.
- Basic OBD-II scanners read and clear generic codes but often lack the manufacturer-specific command needed to update a pad-life percentage.
- Professional-grade scan tools carry OEM-level functions, including the service reset that drives the pad-life display back to 100%.
- Dealer service departments have guaranteed access to the correct reset function, at the cost of a shop visit.
Matching the fix to the system matters here. Running a basic reader on a vehicle that needs an OEM-level command wastes time without clearing anything.
Troubleshooting a warning that won't clear after replacement
A warning that stays on after a new sensor is installed almost always traces back to one of a short list of causes. Start with stored codes, not the sensor itself.
- Read stored fault codes first. A hard code will block a manual reset until it is cleared with a scanner after the underlying issue is repaired, a point HELLA's technician guidance emphasizes directly.
- Clear codes after the repair, not before, so the scan tool confirms the circuit is actually fixed.
- Inspect the connector for bent pins or corrosion, and confirm it clicks fully into place without forcing the locking tab.
- Check the sensor's physical contact point for a burned-through wire or a wear strip that never made contact with the rotor.
- Consider intermittent causes like moisture intrusion, a recent high-pressure wash, or a harness rubbing against a suspension component. These can make a warning flicker rather than stay solid, which points to a chafed wire rather than a failed sensor.
For diagnostic-code specifics, a reference like the sensor-related fault code listing can help confirm what a stored code actually means before assuming the sensor is bad.
Pro Tip: Wiggle the harness near the connector with the ignition on and watch the warning light. A flicker points to a chafed wire, not a failed sensor.

Call a professional when the code points to the ABS module itself, when the harness is damaged in a spot that is hard to reach, or when the wiring runs through a section of the body that requires disassembly to access. A deeper diagnosis checklist covers the broader warning-light causes beyond the wear sensor itself.
Tools, equipment and safety checklist for DIY resets
A sensor reset on its own needs only the ignition and the cluster controls. Replacing the sensor first means raising the car safely.
- A floor jack and a pair of rated jack stands, never the jack alone, to support the vehicle.
- A lug wrench and basic hand tools sized for the sensor's connector and mounting clip.
- A torque wrench to bring the wheel back to the manufacturer's specified torque.
- An OBD-II scanner for basic code reading, or an OEM-level scan tool if the vehicle needs a pad-life reset rather than a cluster reset.
Chock the wheels that stay on the ground, set the parking brake before lifting, and never work under a vehicle supported only by a jack. A full safety checklist for brake work walks through the complete setup before any wheel comes off.
Getting the connector and contacts right the first time

A clean reset depends on a clean connection. Technicians routinely trace a warning that will not clear back to a connector that never fully seated, rather than a faulty sensor. Avoid forcing the locking tab, confirm an audible click when the connector goes in, and keep the harness routed away from moving suspension parts so moisture and chafing cannot start an intermittent fault later.
Replace the wear contact whenever pads are replaced, rather than reusing one that has already worn down, and inspect the full harness run while the wheel is off. Some brake kit manufacturers build kits around that kind of detail: cross-drilled rotors engineered to resist warping, transparent pricing with no hidden fees, and support from a team that answers fitment questions directly rather than through an automated system.
— Sam
Where to find replacement pads, rotors, and sensor-compatible parts
A reset only solves half the job if the pads or rotors underneath are near the end of their life anyway. DBC Brakes sells brake pads, brake rotors, and complete brake kits built for fitment across a wide range of vehicles, including the Performance XDB, Premium Black Kote, and Performance SS lines.

- Current pricing details can be found on the official website.
- Orders over $100 ship free, with expedited and international shipping options available for faster or cross-border delivery.
- Support staff can help confirm which pad or rotor matches your sensor and connector type before purchase.
For anyone replacing pads alongside a wear sensor, the full kit installation guide walks through fitting new components start to finish. Browse the current brake kit selection to compare options before you order.
FAQ
How do I reset a brake warning code?
Clear a stored brake code with an OBD-II scanner only after the underlying fault, such as a damaged sensor or wire, has been repaired. A hard code will block a manual cluster reset until it is cleared, so confirm the repair first, then reset through the instrument-cluster service menu or the scanner itself.
What causes a brake wear sensor to fail?
A wear sensor typically fails when its contact strip wears through from pad contact, when the wiring chafes against a moving part, or when moisture corrodes the connector pins. Bent or corroded pins at the connector can also create a fault that looks like a sensor failure.
Why does a vehicle show a brake pad wear warning after a wash?
A high-pressure wash can push moisture into a connector or harness that was not fully sealed, causing an intermittent fault rather than a true wear warning. If the light flickers instead of staying solid, a chafed or wet connection is a more likely cause than worn pads.
How do I disconnect a brake pad wear sensor safely?
Unclip the connector by releasing its locking tab rather than pulling on the wires, and avoid bending the pins as the halves separate. Confirm there is no other warning active before removing it, since some systems will not allow a later reset if a related fault was already stored.