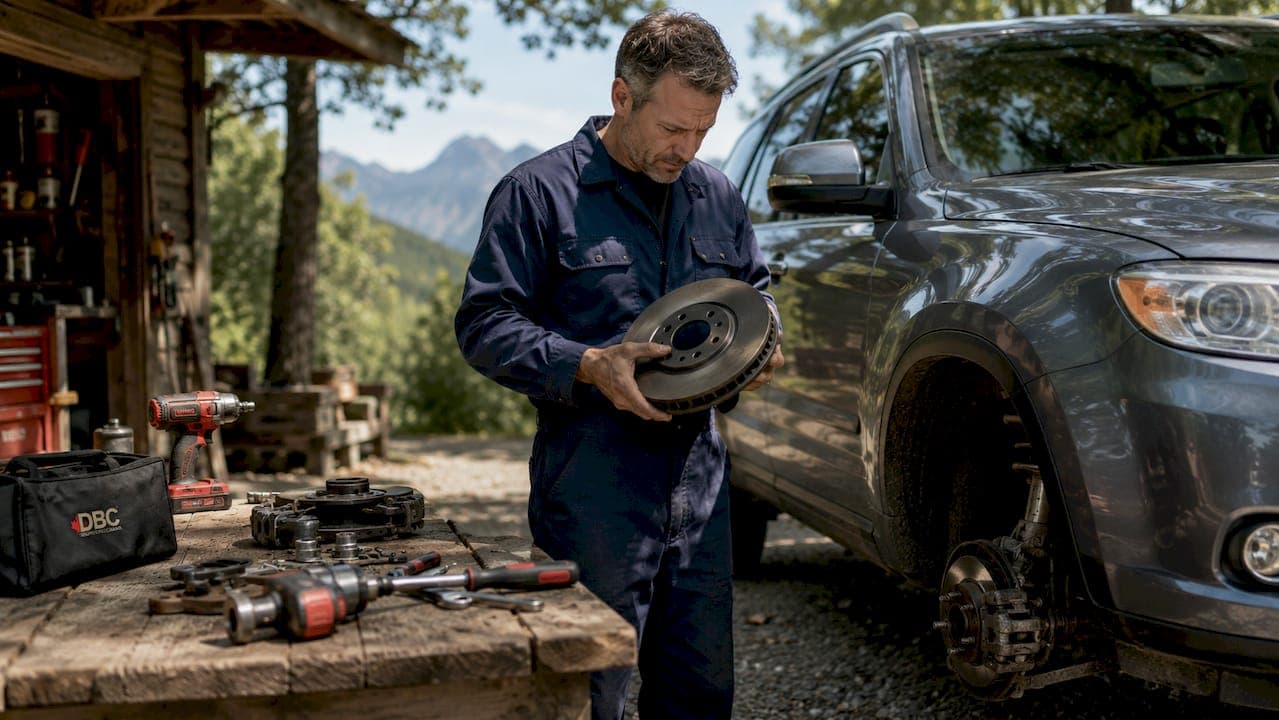
A brake upgrade suited to Canadian road conditions is defined as the replacement of stock brake pads and rotors with components engineered to perform reliably across extreme temperature swings, heavy road salt exposure, and frequent ice and snow contact. Standard OEM parts are built to broad international specifications. They are not designed for the specific demands of a Canadian winter commute, where temperatures can drop to -30°C overnight and road surfaces are treated with salt from october through april. Selecting the right components for Canadian vehicle brake systems is not a preference. It is a safety decision.
What makes Canadian road conditions unique for brake system requirements?
Canadian roads impose a combination of stresses that no single climate elsewhere replicates at the same intensity. Temperature extremes, chemical exposure, and inconsistent surface friction all act on brake components simultaneously.
The temperature range is the first challenge. A rotor can reach 300°C or higher during hard braking, then cool rapidly when a vehicle sits overnight in a -30°C garage. This cycle of heating and cooling, repeated daily through a Canadian winter, causes a process called thermal cycling. Thermal cycling creates micro-fractures in rotor metal over time, leading to warping and cracking that reduces braking consistency.
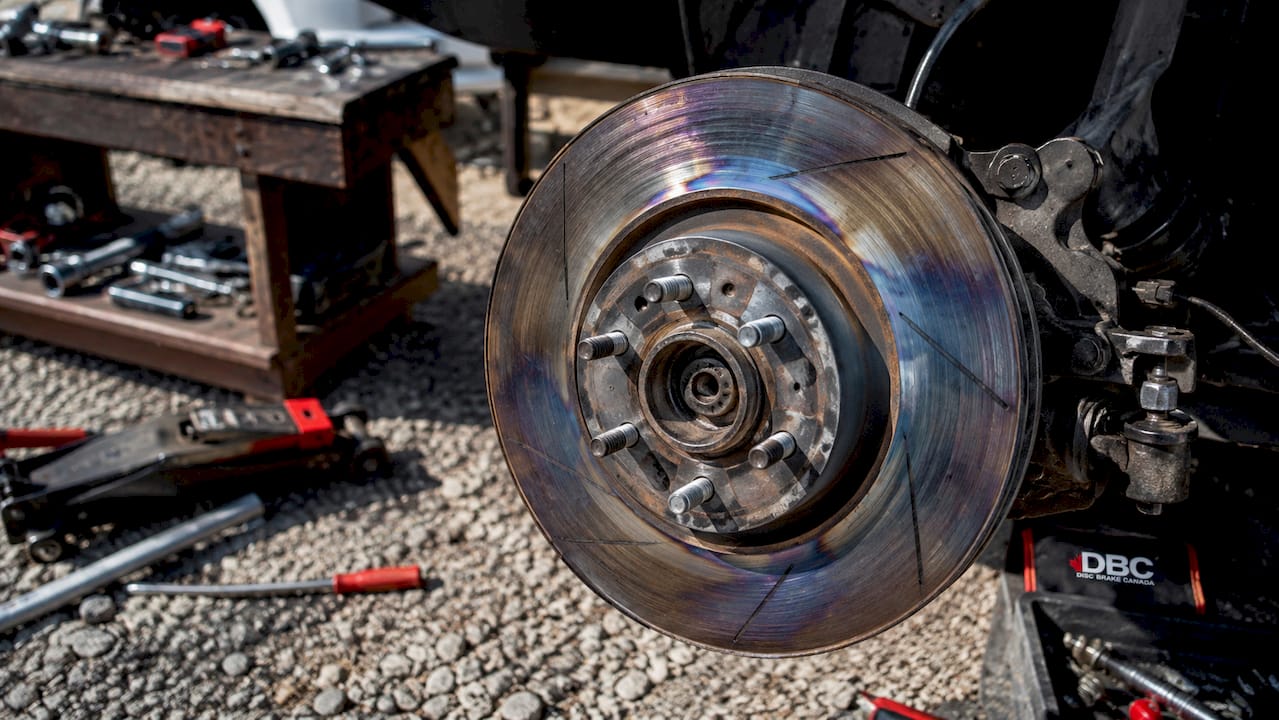
Road salt is the second major factor. Municipalities apply roughly 5 million tonnes of road salt annually across Canada. That volume of salt contact accelerates surface corrosion on rotors and caliper hardware at a rate far beyond what standard coatings can resist. Rust builds up on rotor faces between drives, creating an uneven friction surface that causes brake judder and noise on the first stop of the day.
Snow, slush, and ice reduce the friction coefficient between tyre and road, which changes how brake force translates into stopping distance. Brake components that deliver inconsistent initial bite make this situation worse. A pad that takes several stops to reach operating temperature is a liability on an icy road where the first stop may be the only one that matters.
Corrosion also attacks the hardware that holds pads in place. Corroded abutment clips and slide pins cause uneven pad wear and can lead to a caliper seizing. This is why material selection and protective coatings are not cosmetic choices. They are functional requirements for brake performance in cold climates.
How to choose the best brake pads and rotors for Canadian winters
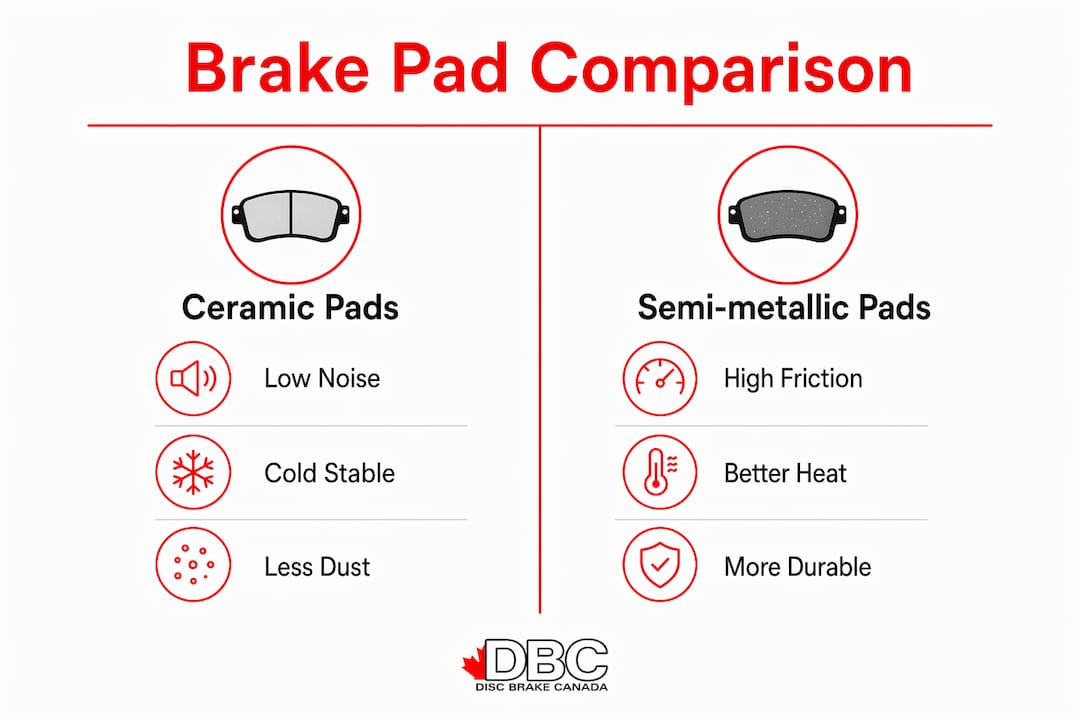
Pad material is the most consequential choice in any Canadian brake upgrade. Ceramic brake pads reduce noise and brake dust, and they resist the corrosive effects of salt better than semi-metallic compounds. Semi-metallic pads generate more heat and suit high-load applications like towing, but they corrode faster in salted environments and can become noisy as surface rust builds between uses.
The table below compares the two pad types across the factors that matter most for Canadian driving.
| Factor | Ceramic pads | Semi-metallic pads |
|---|---|---|
| Cold-weather initial bite | Stable with cold-rated compounds | Slower to reach friction threshold |
| Corrosion resistance | High | Moderate to low |
| Noise and dust | Low | Higher |
| Heat tolerance | Moderate | High |
| Best use case | Daily driving, winter commuting | Towing, track use, heavy loads |
Cold-weather friction stability deserves special attention. Standard ceramic pads stiffen at low temperatures, causing friction instability until enough heat builds up. Specialised scorching processes, such as those used in HydroAdaptive+™ pad technology, stabilise pad response from the first stop. This matters most in the first few seconds after leaving a cold garage.
Rotor design and coating are equally important. Two-piece floating rotors extend rotor life by 30–50% under Canadian thermal stress compared to standard OEM parts. The floating design allows the rotor face to expand and contract independently of the hat, which reduces thermal cracking. GEOMET® coated rotors add a zinc-based layer that resists salt corrosion on the rotor hat and vanes, where rust builds fastest and causes the most structural damage.
Pro Tip: When selecting a rotor coating, look specifically for GEOMET® or equivalent zinc-based treatments on the hat and vane surfaces, not just the rotor face. The face wears clean through pad contact, but uncoated vanes corrode from the inside out.
DBC Brakes supplies cross-drilled rotors with corrosion-resistant coatings designed for Canadian driving. Cross-drilling improves heat dissipation and reduces the risk of brake fade on long downhill grades, which are common on Canadian highways in both summer and winter.
What tools and preparations are needed before a brake upgrade?
Safe brake work starts with the right environment. A flat, level surface with proper jack stands is the minimum requirement. Never work under a vehicle supported only by a floor jack. Apply the parking brake and use wheel chocks on the tyres that remain on the ground.
Allow brakes to cool completely before disassembly. Rotors and callipers retain heat for longer than most drivers expect, particularly after highway driving. Touching a hot rotor causes burns, and forcing a hot caliper piston can damage the seal.
Brake fluid is corrosive to vehicle paint. Keep a rag and clean water nearby, and cap the brake fluid reservoir immediately after opening it. Contaminated pads or rotors from fluid contact must be replaced, not cleaned.
The essential tools for a Canadian brake upgrade include:
- A floor jack rated for your vehicle's weight
- Two or more jack stands
- A C-clamp or caliper piston tool to compress the piston
- A torque wrench for caliper bolts and wheel lugs
- Wire brush and brake cleaner spray
- Nitrile gloves and safety glasses
- Anti-seize compound for caliper slide pins
Brake replacement costs in Canada range from $120–$350 for pads only and $400–$1,400 or more for a full pad and rotor job per axle. A DIY upgrade saves $300–$500 per axle when done safely. That saving is real, but only if the job is done correctly. Rushing preparation steps is the most common cause of DIY brake failures.
Seasonal timing also matters. Avoid starting a brake upgrade on a day when the driveway is icy or wet. A vehicle that cannot be safely lowered and moved is a hazard.
Step-by-step guide to upgrading brakes for Canadian driving conditions
Follow these steps for a safe and effective brake upgrade.
- Lift and secure the vehicle. Position the jack under the manufacturer's specified lift point. Raise the vehicle, place jack stands under the frame, and lower the vehicle onto the stands. Remove the wheel.
- Inspect before removing anything. Check the rotor face for deep grooves, cracks, or heavy rust pitting. Brake pads typically last 40,000–70,000 km, but rotors below minimum thickness must be replaced regardless of surface appearance.
- Remove the caliper. Unbolt the caliper bracket bolts and slide the caliper off the rotor. Hang it from the spring with a wire hook. Never let it hang by the brake hose.
- Compress the caliper piston. Use a C-clamp or piston tool to push the piston back into the caliper bore. Watch the fluid reservoir and remove fluid if it overflows.
- Remove and replace the rotor. Slide the old rotor off the hub. Clean the hub face with a wire brush and brake cleaner. Mount the new GEOMET® coated or cross-drilled rotor and secure it with a lug nut to hold it in place during reassembly.
- Install new pads. Apply a thin layer of brake lubricant to the abutment clips and slide pins. Never apply lubricant to the pad friction surface or rotor face. Seat the new pads in the bracket.
- Reassemble and torque. Reinstall the caliper and torque all bolts to the manufacturer's specification. Reinstall the wheel and torque the lug nuts in a star pattern.
- Bed in the new brakes. Drive at 50 km/h and apply moderate brake pressure to slow to 10 km/h without stopping completely. Repeat six to eight times with a two-minute cooling interval between each pass.
Skipping the bedding process is the single most common mistake after a brake upgrade. Uneven pad material transfer onto a new rotor causes vibration and reduces stopping power from the first week of driving. The bedding procedure takes 15 minutes and prevents months of brake judder.
Pro Tip: After bedding, avoid hard stops for the first 200 km. This allows the pad compound to fully cure and bond evenly to the rotor surface.
For a detailed walkthrough of the full installation process, the step-by-step brake kit guide covers Canadian-specific considerations in full.
How to maintain brake performance on salted Canadian roads year-round
Brake maintenance in Canada requires a year-round schedule, not just a pre-winter check. Inspections every 20,000 km or once per year catch corrosion and wear before they become safety issues.
Key maintenance practices for Canadian drivers include:
- Rinse the undercarriage after driving on salted roads, particularly in early spring when salt concentrations are highest. A garden hose directed at the wheel wells removes the bulk of salt before it dries and bonds to metal surfaces.
- Inspect slide pins annually. Corroded slide pins cause one brake pad to wear faster than the other. Clean and re-lubricate them with a high-temperature, water-resistant grease rated for brake hardware.
- Check brake fluid every two years. Brake fluid absorbs moisture over time, which lowers its boiling point. In cold climates, moisture-contaminated fluid can cause inconsistent pedal feel. Use a fluid rated to DOT 4 or higher for Canadian conditions.
- Watch for these warning signs: a pulsating brake pedal, pulling to one side under braking, grinding or squealing noise, or a longer stopping distance than usual. Any of these signals warrant immediate inspection.
- Adjust driving habits in winter. Increase following distance on icy roads and apply brakes earlier and more gradually. This reduces peak heat load on pads and rotors, which extends component life.
Matching brake components for cold climates avoids unpredictable brake feel and supports safer driving in freezing conditions. Maintenance keeps those components performing as designed through every season.
Key takeaways
A brake upgrade suited to Canadian conditions requires corrosion-resistant rotors, cold-rated pad compounds, and consistent year-round maintenance to deliver reliable stopping power.
| Point | Details |
|---|---|
| Road salt is the primary threat | Canada applies 5 million tonnes of salt annually; GEOMET® or zinc coatings are functionally necessary. |
| Pad material determines cold-weather bite | Ceramic pads with cold-rated compounds outperform semi-metallic in salted, freezing conditions. |
| Two-piece rotors last longer | Floating rotor designs extend service life by 30–50% under Canadian thermal cycling stress. |
| Bedding-in is not optional | Skipping the bedding process causes uneven pad transfer and brake judder within the first week. |
| Annual inspection prevents failures | Inspecting brakes every 20,000 km or yearly catches corrosion and wear before they compromise safety. |
What I've learned from Canadian winters and brake upgrades
I've seen drivers spend money on premium brake kits and then undo the investment by skipping the bedding process or ignoring corroded slide pins. The hardware around the brake pad matters as much as the pad itself. A high-quality ceramic pad seated against a corroded abutment clip will wear unevenly within 10,000 km.
The thermal cycling issue is also underestimated. Most drivers think of brake wear as a friction problem. The real damage in a Canadian winter comes from the repeated expansion and contraction of rotor metal. Two-piece floating rotors address this directly. They are not a luxury upgrade. For a vehicle driven year-round in Canada, they are the practical choice.
Cost is a genuine concern, and I understand the instinct to choose the least expensive option. But a rotor that corrodes through in two winters costs more to replace twice than a coated rotor costs once. The brake parts worth prioritising are the ones that address the specific failure modes of Canadian conditions: corrosion, thermal cracking, and cold-start friction instability. Spend there, and the rest of the system takes care of itself.
— Sam
Brake upgrade products for Canadian drivers at CrossDrilledRotors.ca
DBC Brakes operates as a Canadian manufacturer with a focus on brake kits built for local road and climate demands. The product range at CrossDrilledRotors.ca includes cross-drilled rotors with corrosion-resistant coatings and brake pad options suited for cold-weather friction performance.

Free shipping applies to orders over $100, and support comes from knowledgeable staff rather than automated responses. Drivers upgrading car brakes in Canada can browse by vehicle make and model to find kits that fit their specific application. Whether the priority is daily winter commuting or year-round performance, DBC Brakes carries options designed for the conditions Canadian drivers actually face.
FAQ
What are the best brakes for winter driving in Canada?
Ceramic brake pads with cold-weather friction ratings paired with GEOMET® coated or two-piece floating rotors deliver the most consistent performance in Canadian winter conditions. These components resist salt corrosion and maintain stable friction from the first cold stop.
How often should Canadian drivers inspect their brakes?
Brake inspections every 20,000 km or once per year are the standard recommendation for Canadian driving. Drivers who frequently use salted roads should inspect slide pins and rotor surfaces at the start and end of each winter season.
Do cross-drilled rotors help on icy Canadian roads?
Cross-drilled rotors improve heat dissipation and reduce brake fade on long grades, which benefits both summer and winter driving. They do not directly improve grip on ice, but consistent rotor temperature management supports more predictable pad performance in cold conditions.
Is a DIY brake upgrade safe for Canadian drivers?
A DIY brake upgrade is safe when performed on a flat, level surface using proper jack stands, with brakes fully cooled before disassembly. Following the correct torque specifications and completing the bedding process are the two steps most often skipped and most likely to cause problems.
Why do brake pads wear unevenly in Canadian winters?
Uneven pad wear is most often caused by corroded caliper slide pins that prevent the caliper from releasing fully after each stop. Annual cleaning and re-lubrication of slide pins with a water-resistant, high-temperature grease prevents this and extends pad life significantly.