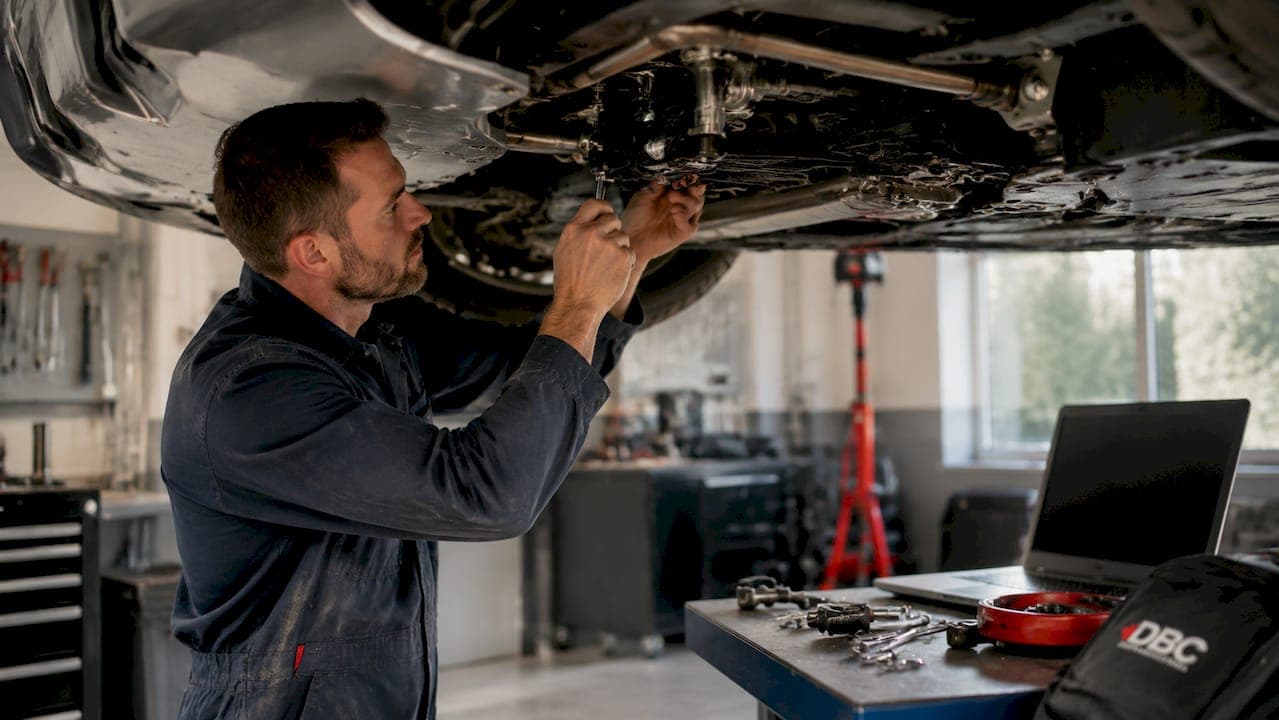
Brake bias is defined as the percentage of total braking force applied to the front wheels versus the rear wheels during a stop. Getting this split right is the single most important tuning variable for performance vehicle owners who want predictable, stable braking under hard deceleration. The ideal brake bias range for most performance vehicles sits between 55% and 70% front bias. That window exists because the front tyres carry more load under braking due to weight transfer, so they can handle more force without locking. Brake bias adjustment on performance vehicles is not a one-time setup. It is a continuous process tied directly to how your vehicle evolves.
What tools are needed for brake bias adjustment on performance vehicles?
Three primary systems handle brake bias adjustment: bias bars, proportioning valves, and adjustable bias valves. Each works differently, and choosing the right one depends on your vehicle's brake architecture and your driving goals.
A bias bar (also called a balance bar) sits between two master cylinders and physically shifts hydraulic pressure front to rear by rotating the bar. It is the most common setup in dedicated track cars and race vehicles. A proportioning valve reduces pressure to the rear circuit at a set threshold, making it a simpler solution for street-performance builds. An adjustable bias valve gives finer control and is often used in motorsport applications where conditions change between sessions.
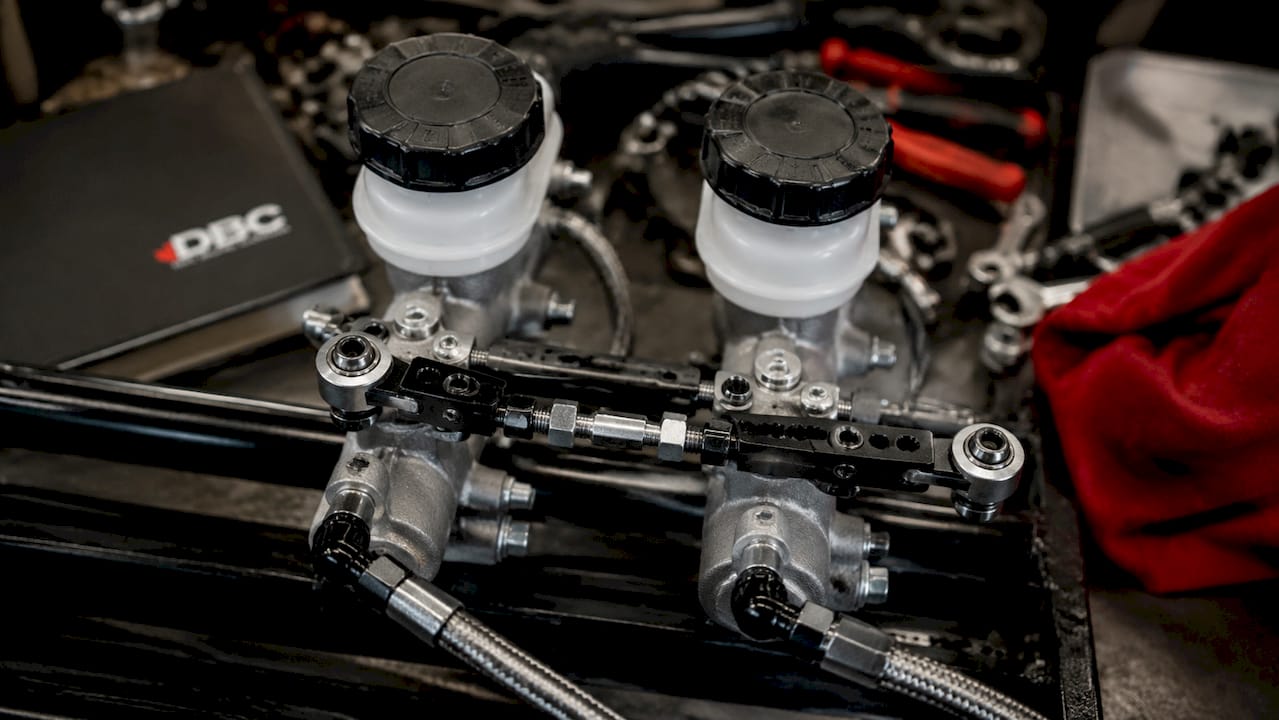
Brake bias valves must be matched with the correct master cylinder bore size and pedal ratio. Installing a bias valve without accounting for these factors causes inconsistent pedal feel and unpredictable braking response. This is the most common mistake enthusiasts make when adding aftermarket bias control to an existing system.
Before starting any adjustment, confirm the following vehicle prerequisites:
- Tyre condition and compound: Worn or mismatched tyres change grip levels and invalidate any bias setting you dial in.
- Weight distribution: Know your vehicle's front-to-rear weight split at race weight, including fuel and driver.
- Current brake system type: Identify whether you have a single or dual circuit system, and whether ABS is present.
- Brake fluid condition: Degraded fluid compresses under heat, which distorts the hydraulic response. Review brake fluid's role in the system before making any changes.
- Caliper and rotor condition: Warped rotors or sticking calipers produce uneven clamping force that no bias adjustment can correct.
| Equipment category | Typical use | Adjustment method |
|---|---|---|
| Bias bar (balance bar) | Dedicated track and race cars | Manual rotation between sessions |
| Proportioning valve | Street-performance and dual-purpose builds | Knob or screw adjustment |
| Adjustable bias valve | Motorsport, time attack | In-cockpit or pit-lane adjustment |
| Brake pressure gauge | All performance applications | Measurement and verification tool |
Pro Tip: Never adjust brake bias on a vehicle with worn brake pads or degraded fluid. Fix the consumables first. Any bias setting you dial in on a compromised system will be wrong the moment you fit fresh components.
How to perform step-by-step brake bias adjustment for optimal results
Start with your bias set within the recommended 55%–70% front range. If you have no baseline data, 60% front is a safe starting point for most rear-wheel-drive performance cars. Front-wheel-drive vehicles typically need more front bias, closer to 65%–70%, because the front axle handles both braking and steering loads simultaneously.
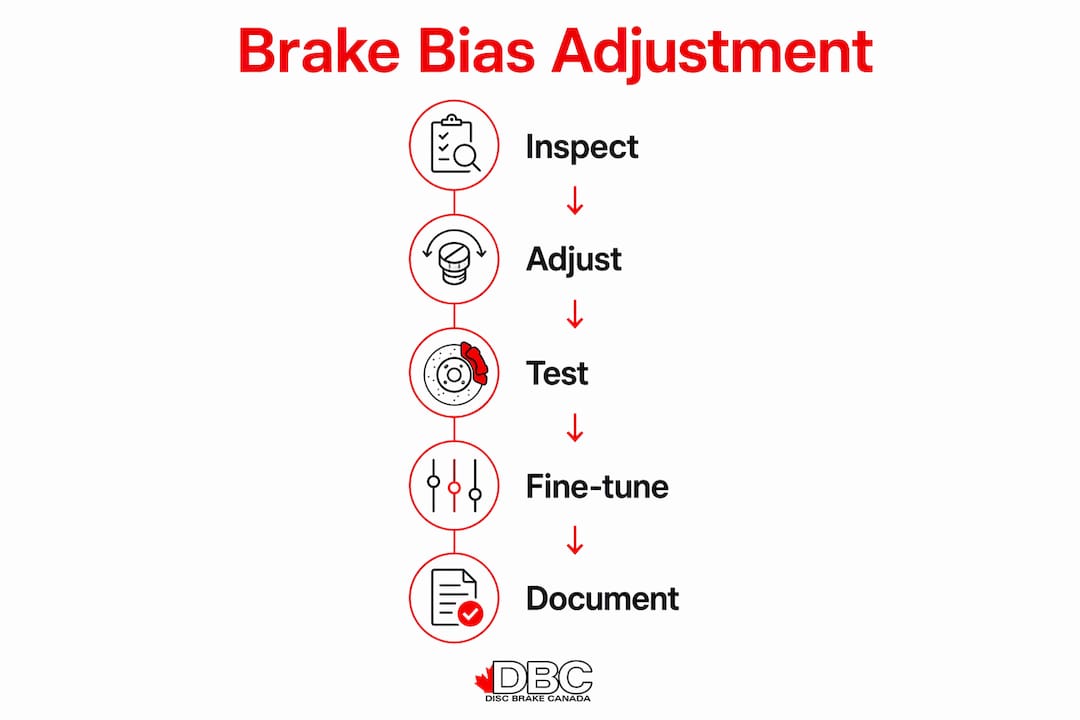
Follow this sequence for a controlled adjustment:
- Establish a baseline. Record your current bias setting and note any handling symptoms: early front lockup, rear stepping out, or inconsistent pedal feel.
- Set the initial bias. Adjust your bias bar or valve to your starting point. Use a brake pressure gauge at each circuit to confirm the actual split, not just the mechanical position.
- Conduct a controlled braking test. Find a safe, consistent surface. Brake firmly from 80 km/h to a stop, repeating the run three times to account for tyre warm-up.
- Observe the response. Front bias improves stability but risks front wheel lockup. Rear bias increases rotation but risks instability and rear lockup. Note which axle shows signs of locking first.
- Make one incremental change. Shift the bias by a small amount in one direction only. Do not make multiple changes between tests.
- Retest and record. Repeat the braking test under the same conditions. Compare the result to your previous run.
- Repeat until balanced. Continue until both axles reach the limit of grip at the same time during a maximum-effort stop.
| Adjustment step | Expected outcome |
|---|---|
| Increase front bias | More stability, reduced rotation, risk of front lockup |
| Increase rear bias | More rotation on entry, risk of rear lockup |
| Balanced bias achieved | Both axles reach grip limit simultaneously |
| Bias set without pressure gauge | Mechanical position may not reflect actual hydraulic split |
Controlled incremental adjustment allows you to tune the car's handling characteristics, including rotation and straight-line stability. Modern track cars sometimes allow in-cockpit adjustment, which lets the driver respond to changing conditions mid-session without returning to the pits.
Pro Tip: Change bias by the smallest increment your system allows, then test before touching it again. Small incremental bias changes have profound effects on vehicle behaviour. Patience separates a well-tuned car from a dangerous one.
What are common issues during brake bias adjustment and how to fix them?
Incorrect brake bias produces clear, identifiable symptoms. Recognising them early prevents both mechanical damage and safety incidents.
Common symptoms of a poorly set bias include:
- Premature front wheel lockup: The front tyres lock before the rears, causing the car to push straight under hard braking. This indicates too much front bias.
- Rear wheel lockup or snap oversteer: The rear steps out suddenly during braking. This is the more dangerous condition and signals too much rear bias.
- Uneven brake wear: One axle's pads and rotors wear significantly faster than the other. This is a direct indicator of a bias imbalance.
- Inconsistent pedal feel: The pedal feels different between stops, often caused by hydraulic mismatches in the system.
Incorrect brake bias causes uneven brake wear, inconsistent pedal feel, and premature wheel lockup. These symptoms compound over time and reduce driver control progressively, not all at once.
The root causes fall into three categories. First, mismatched hydraulic components, particularly a bias valve installed without matching master cylinder sizing. Second, vehicle changes that were not followed by a bias recalibration, such as fitting a different tyre compound or adjusting suspension geometry. Third, improper adjustment technique, including making multiple changes at once without testing between them.
Brake bias is not a static setting. Every time you change tyres, adjust suspension, or modify the brake system, the bias needs to be re-evaluated. Treating it as a permanent setup is the fastest way to create a handling problem you cannot diagnose.
Corrective actions follow a clear order. Check master cylinder compatibility first. Then verify tyre condition and compound. Readjust the bias bar or valve in small steps. If pedal feel remains inconsistent after mechanical corrections, inspect the brake caliper types on each axle for sticking pistons or uneven clamping force.
Pro Tip: After any suspension modification, tyre change, or brake component upgrade, recheck your bias before your next track session. What worked with your previous setup may be dangerous with the new one.
How and why to re-evaluate brake bias over time
Brake bias is not a "set and forget" setting. Vehicle conditions change, and the bias must change with them. Fuel load, tyre compound, track temperature, and suspension tuning all affect how each axle responds to braking force. In motorsport contexts, external factors like fuel load and track temperature require adaptive bias strategies even within a single race.
Schedule bias checks around these specific events:
- Tyre compound change: Different compounds have different grip levels and thermal characteristics. A bias setting dialled in for a hard compound will be wrong on a soft one.
- Suspension geometry adjustment: Changing ride height, corner weights, or alignment shifts the vehicle's weight distribution and alters how load transfers under braking.
- Brake system upgrades: Fitting larger rotors, different calipers, or upgraded pads changes the clamping force on that axle. The bias must be recalibrated to match.
- Seasonal or track changes: Moving from a smooth circuit to a bumpy one, or from warm to cold conditions, changes tyre grip and requires a bias review.
Document every setting change and its effect. A simple log with the date, bias position, tyre compound, track conditions, and observed behaviour gives you a reference point for future sessions. Without records, you repeat the same trial-and-error process every time conditions change.
Adjustable bias systems earn their value here. A fixed proportioning valve cannot respond to a mid-session tyre degradation or a fuel load change. An adjustable system, whether a cockpit-mounted dial or a quick-adjust valve in the engine bay, lets you respond to the car's actual behaviour rather than guessing from the pits.
Pro Tip: Keep a dedicated brake bias log in your track bag. Note the setting, conditions, and result after every session. After three or four events, patterns emerge that tell you exactly where to start for a given track and tyre combination.
Key takeaways
Brake bias adjustment is the most direct way to control braking stability and handling on a performance vehicle, and it requires ongoing recalibration as vehicle conditions change.
| Point | Details |
|---|---|
| Start within the correct range | Set initial bias between 55% and 70% front for most performance vehicles. |
| Match hydraulic components | Bias valves require correct master cylinder bore size and pedal ratio to function properly. |
| Adjust in small increments | Change bias by the smallest possible amount and test before making another adjustment. |
| Recalibrate after every change | Tyre swaps, suspension adjustments, and brake upgrades all require a fresh bias check. |
| Document every setting | A bias log eliminates repeated guesswork and builds a reliable reference for future sessions. |
Why I treat brake bias as a living setup, not a one-time fix
Most enthusiasts set their brake bias once during a build and never revisit it. I understand the logic. You dial it in, the car feels good, and you move on. The problem is that "feels good" is a moving target.
The first time I genuinely understood this was after a tyre compound change mid-season. The car had been consistent for months. After fitting a softer compound for a wet-weather event, the rear started stepping out under trail braking at a corner I had been hitting confidently all year. Nothing changed mechanically. The bias that worked perfectly on the harder compound was now too far rear on the softer one. A single adjustment session fixed it, but it cost me a full practice day to diagnose.
The lesson is that brake bias is a system output, not a system input. It reflects the combined behaviour of your tyres, suspension, weight distribution, and hydraulic components at a specific moment. When any of those variables change, the output changes too. Treating bias as a living part of your setup, rather than a box you tick once, is what separates drivers who are consistently fast from those who are occasionally fast.
For enthusiasts who are new to this, I recommend starting with a proportioning valve before moving to a full bias bar setup. The valve is simpler to adjust and harder to get catastrophically wrong. Once you understand how the car responds to bias changes, the more precise control of a bias bar makes sense. Working with a professional technician for the first calibration session is also worth the time. Watching someone experienced interpret the car's behaviour under braking teaches you more than any guide can.
— Sam
Performance brake components from DBC Brakes

Brake bias tuning only delivers results when the underlying components are up to the task. Warped rotors, inconsistent calipers, or degraded pads introduce variables that no bias adjustment can correct. DBC Brakes supplies performance brake kits built specifically for Canadian enthusiasts who demand reliable stopping power under hard use. Their cross-drilled rotors resist warping and maintain consistent thermal performance across repeated heavy stops. DBC Brakes also provides knowledgeable support from real people, not automated responses, so you can get accurate guidance on component selection for your specific vehicle and setup. Free shipping applies on orders over $100.
FAQ
What is brake bias and why does it matter for performance cars?
Brake bias is the front-to-rear split of braking force expressed as a percentage. The correct split prevents wheel lockup, maintains stability, and allows the driver to use the full grip of all four tyres under braking.
What is the ideal brake bias range for performance vehicles?
Most performance vehicles run between 55% and 70% front bias. Street cars typically sit closer to 60%–70% front, while track setups vary within that window based on grip levels and weight distribution.
How do I know if my brake bias is set incorrectly?
Premature front wheel lockup, rear wheel snap under braking, uneven pad and rotor wear, and inconsistent pedal feel are all signs of an incorrect bias setting.
How often should brake bias be adjusted?
Brake bias should be rechecked after every tyre compound change, suspension adjustment, brake system upgrade, or significant change in driving conditions. It is not a permanent setting.
Can I adjust brake bias on a street car?
Yes. Adjustable proportioning valves are available for street-performance builds and are legal for road use in most Canadian provinces. A bias bar setup is more common on dedicated track vehicles.