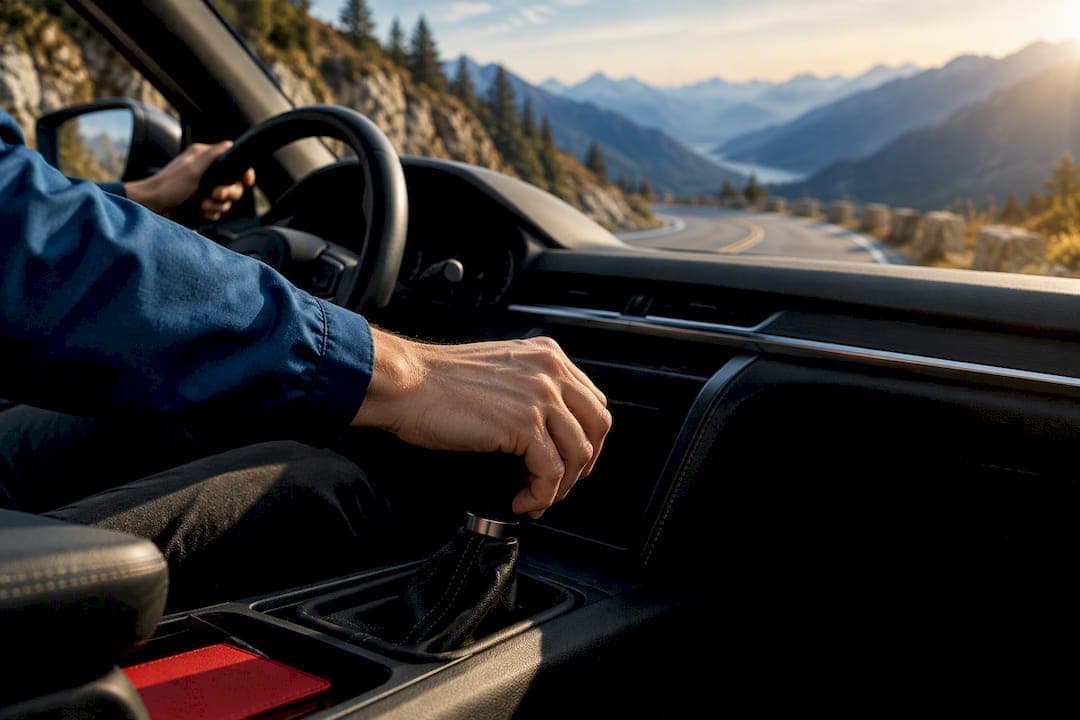
Brake fade is a temporary loss of stopping power caused by excessive heat building up faster than your brakes can shed it. It comes in three main forms: friction fade in the pads, fluid fade from boiling brake fluid, and mechanical fade in the rotors themselves. The single best prevention step is simple: stop riding the brakes on long descents and use engine braking instead.
TL;DR:
- Brake fade is typically caused by excessive heat affecting pads, fluid, or rotors, especially during long descents, heavy loads, or repeated high-speed stops.
- Using engine braking and downshifting before a descent can significantly reduce heat buildup and prevent fade.
- Brake fluid should be replaced every two years to maintain a high wet boiling point and avoid fluid vapour formation.
- Proper bedding of new pads and replacing rotors before they become glazed or too thin are key preventive maintenance steps.
- Signs of fade include a firm pedal with weak stopping, a spongy pedal, or visible heat damage on rotors, requiring immediate inspection or repair.
Table of Contents
- What are the main causes of brake fade?
- How does heat actually change your brakes?
- Which driving situations put you most at risk?
- How do you tell if your brakes are fading?
- What prevention and maintenance steps actually stop brake fade?
- When should you repair now versus just monitor the problem?
- What DBC Brakes recommends checking before a demanding drive
- Prevention beats diagnosis every time
- Sources
- FAQ
What are the main causes of brake fade?
Brake fade always traces back to heat overwhelming one part of the braking system. The three primary types each fail differently, and knowing which one you're dealing with changes what you fix.
Friction fade, sometimes called pad fade, happens when the pad material itself gets too hot to grip the rotor properly. Pads are bonded with resins that hold the friction compound together, and past a certain temperature those resins start to outgas, releasing a thin gaseous layer between the pad and rotor surface. That layer acts almost like a lubricant, and the pedal stays firm while stopping power quietly disappears.
Fluid fade, also called vapour fade, is a different problem entirely. Brake fluid is hygroscopic, meaning it absorbs moisture from the air over time through hoses, seals, and reservoir caps. Fresh DOT 3 fluid has a dry boiling point around 205°C, but if contaminated with moisture, the boiling point can drop significantly into the temperature range reached during heavy braking, well within the range your brakes reach during sustained hard use, according to Parts Pioneer. Once fluid boils, it forms compressible vapour bubbles in the lines, and pushing the pedal just squeezes gas instead of moving fluid.
Mechanical or rotor fade occurs when the rotor itself can no longer absorb or release heat fast enough. Thin, worn, or glazed rotors lose thermal mass, meaning they heat up quickly and stay hot longer, compounding whatever is happening with the pads.
There's a fourth category worth knowing: green fade, or early-life fade, which shows up on brand new pads. New pads outgas heavily during their first few hard stops because the transfer layer between pad and rotor hasn't formed yet, according to Car Care Total. This is exactly why a proper bedding procedure matters before you trust new pads on a demanding drive.
A short summary of the four types follows:
- Friction (pad) fade: pad resin outgasses, creating a slippery gas layer
- Fluid (vapour) fade: moisture-contaminated fluid boils and compresses
- Mechanical (rotor) fade: thin or glazed rotors lose the ability to absorb heat
- Green (early-life) fade: new pads outgas before a transfer layer forms
How does heat actually change your brakes?
Every type of fade comes down to the same underlying physics: friction materials, fluid, and metal all behave differently once they cross a heat threshold.
- The friction curve has a kneepoint. Brake pad friction rises with temperature up to a point, then drops off sharply once that kneepoint is crossed. Past that line, more pedal pressure doesn't translate to more stopping force, it just generates more heat.
- Outgassing creates a barrier you can't see. The resin binders in pad compounds release gas as they heat up. That gas has to go somewhere, and if it can't escape fast enough, it forms a thin film that reduces the pad's actual contact with the rotor surface.
- Fluid has two boiling points that matter. The dry boiling point is what fresh fluid can handle; the wet boiling point reflects what happens after moisture absorption, and it's the one that actually predicts fade risk on an older vehicle. A flush schedule that keeps fluid fresh keeps that wet boiling point high.
- Thin rotors run hotter and cool slower. Rotor thickness determines thermal mass, the amount of heat the metal can soak up before its surface temperature spikes. A worn rotor near its minimum thickness has less mass to work with, so it climbs to dangerous temperatures faster during a long stop and takes longer to shed that heat afterward.
Better lining materials, high-temperature resins, and rotor designs with venting, drilling, or slotting all exist to manage this same gas layer and heat dissipation problem, according to Wikipedia's overview of brake fade. None of that changes the basic mechanism. It just gives the system more margin before the kneepoint hits.
Which driving situations put you most at risk?
Brake fade rarely happens out of nowhere. It shows up in a handful of predictable situations, and if you know them, you can plan around them.
- Long downhill or mountain descents, where continuous light braking keeps heat climbing with no chance to recover.
- Towing or hauling heavy loads, which adds kinetic energy your brakes have to dissipate on every stop.
- Track days or repeated high-speed stops, where street pad compounds simply weren't designed for the temperatures involved.
- Stop-and-go traffic in hot weather, especially combined with worn tyres or rotors already running close to their thermal limit.
- Skipped maintenance, including old fluid, glazed pads, and thin rotors, all of which shrink your margin before fade sets in.
A detailed breakdown of mountain driving technique covers descent-specific prevention in more depth, but the pattern across every one of these scenarios is the same: sustained heat with no recovery window.
Pro Tip: Never bring a hot vehicle to a stop and then leave it sitting immediately. Hot pads resting against a stationary rotor can transfer heat unevenly and worsen glazing or heat spots, according to Continental Tires. Keep rolling gently for a minute or two after a hard stop whenever it's safe to do so.
How do you tell if your brakes are fading?
The pedal itself usually tells you which type of fade you're dealing with, and the difference matters for how you respond.
- A firm pedal with weak stopping power points to pad fade. The pedal feels normal under your foot because the hydraulic system is working fine; the pads just aren't generating friction anymore.
- A soft or spongy pedal that sinks toward the floor points to fluid fade. Vapour bubbles compress under pressure, so the pedal travel increases even as you push harder.
- Run the pump test to confirm which one you're facing. Pump the pedal a few times in quick succession. If pressure returns and the pedal firms up, you're likely dealing with compressible vapour from boiling fluid. If nothing changes, the problem is friction loss at the pads or rotors, according to Car Care Total.
- Check for a burning smell, visible smoke, or discoloured rotors. Blued or rainbow-tinted rotor surfaces are a clear sign of a heat event, even after things cool down.
If you suspect fade, downshift immediately to bring speed down with engine braking, find a safe place to pull off, and let the system cool before continuing. A soft pedal that doesn't respond to pumping may point to trapped air rather than fade, and that calls for a proper bleed rather than a cooldown. Persistent pedal loss after cooling means it's time for a shop, not a temporary fix.
What prevention and maintenance steps actually stop brake fade?
Prevention comes down to two things working together: how you drive and how well the system is maintained. Neither one alone is enough.
Engine braking is the single most effective technique for descents. Downshift before you start down a grade, not after your brakes are already hot, and let the engine hold your speed instead of continuous pedal pressure. Proactive speed control through gearing keeps brake temperatures far lower than the same descent managed with steady light braking, according to Continental Tires. This applies whether you're driving a loaded pickup down a mountain pass or crawling through a steep parking structure.
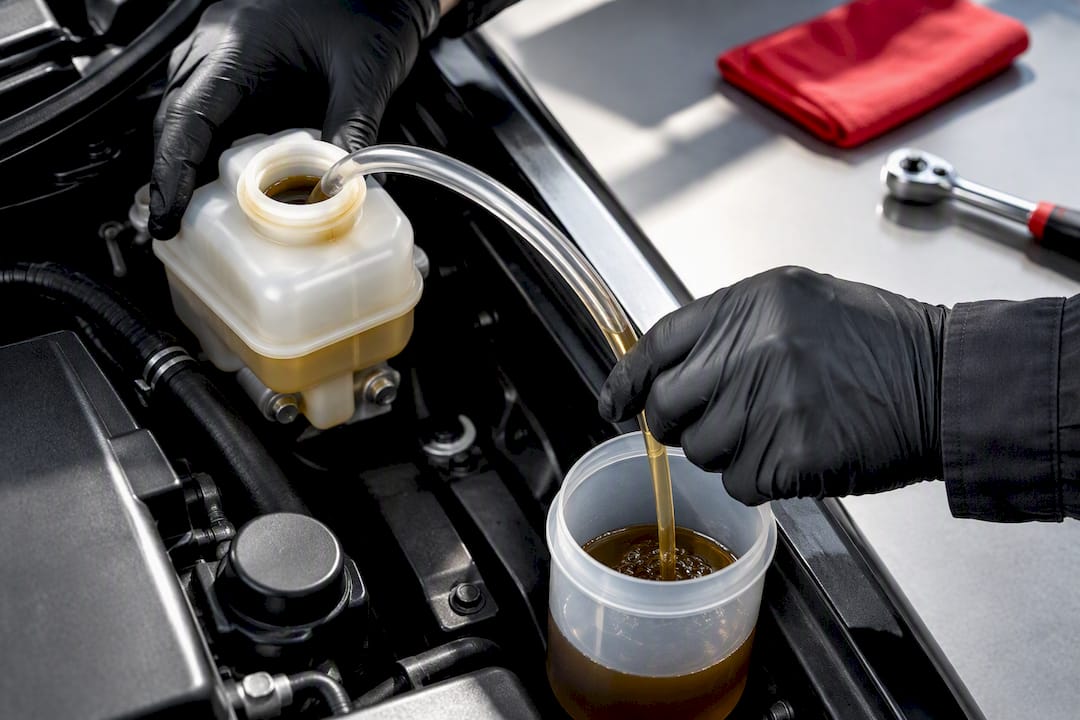
Fluid needs a real flush schedule, not a top-up. Because brake fluid absorbs moisture continuously, a flush roughly every two years keeps the wet boiling point high enough that ordinary hard braking won't push it into vapour territory. Skipping this is one of the most common and most preventable causes of fluid fade, and it's often misdiagnosed. Some drivers and shops mistake a spongy pedal from fluid boil for air in the lines and perform lengthy bleeds that never solve the actual problem, according to Continental Tires. Checking fluid age first saves labour and gets to the real cause faster.
Pad compound has to match how you actually drive. A street compound built for daily commuting won't hold up to a track day, and a track compound can feel grabby and dusty on a daily commute. If you tow regularly, look for a pad rated for sustained heat under load, not just peak stopping force. Mismatched compound is a quiet contributor to fade that many drivers never think to check.
Bedding new pads properly prevents green fade before it starts. A basic bedding routine involves a series of moderate stops from highway speed, allowing the pads to cool between each one, which deposits an even transfer layer of pad material onto the rotor surface. That layer is what gives you consistent, predictable friction going forward. Skip bedding and you're driving on an inconsistent surface exactly when you need reliability most.
Rotors should be replaced before they hit minimum thickness, not after. Watch for glazing (a shiny, hardened surface) or heat cracking (fine lines radiating from the mounting holes), both signs the rotor's thermal mass is compromised. Cross-drilled and slotted rotor designs are built to vent gas and heat more efficiently than a solid rotor, which is worth considering if you tow, track, or drive mountain routes regularly. For daily drivers dealing with corrosion in wet climates, coated rotors address a related but separate problem: rust buildup that can also interfere with even heat transfer.
Tyres and vehicle load change the math too. Worn tyres reduce grip, which means more distance and more brake energy needed for the same stop. A fully loaded vehicle carries more kinetic energy into every stop than an empty one, so factor your actual load into how conservatively you drive on a descent.
- Downshift before descents, not during them
- Flush brake fluid on a roughly two-year cycle
- Match pad compound to your actual use case
- Bed new pads with a controlled heat cycle before hard use
- Replace rotors before minimum thickness, not after glazing appears
Pro Tip: Keep brake dust from building up on your wheels between services. Abrasive dust that sits too long can contaminate pad and rotor surfaces over time, and a quick clean with a short dwell time, as outlined in this brake dust removal guide, takes just a few minutes.
For a broader look at where drivers go wrong when upgrading their setup, this rundown of common brake upgrade mistakes covers mismatched pad and rotor pairings that quietly increase fade risk.
When should you repair now versus just monitor the problem?
Some signs mean pull over and arrange a tow. Others mean book a service appointment this week. Knowing the difference keeps you safe without wasting money on premature parts.
- Stop driving immediately if pedal loss persists after cooling, if you've had repeated vapour events on the same trip, or if you can see heat damage like warping or deep discolouration.
- Resurfacing rarely fixes heat-cracked rotors. Once cracks appear, machining the surface removes material without addressing the underlying weakness, so replacement is the safer call.
- Replace pads once they're glazed, contaminated, or near minimum thickness, since glazing rarely reverses itself and continuing to drive on it just extends the fade risk.
- Any fluid that has boiled needs to be flushed before you drive hard again. Boiled fluid, wet or dry boiling point exceeded, is compromised even after it cools, according to Car Care Total.
- Routine flushes are cheap insurance; emergency tows are not. Prioritize the fluid schedule and pad inspections ahead of cosmetic upgrades every time.
What DBC Brakes recommends checking before a demanding drive
Workshop experience points to the same three checks over and over: fluid age, pad wear, and rotor thickness. Sam's posts on the DBC Brakes blog walk through each one in plain terms, because most fade events trace back to one of these three being overdue rather than to a single dramatic failure.
Certain rotor designs aim to improve how quickly heat and gas escape the pad-rotor interface, which is the same mechanism behind friction fade described earlier. That's a design goal, not a guarantee against fade under every condition, and it works best paired with fresh fluid and properly bedded pads.
Before a mountain trip, a towing job, or a track day, run through this:
- Check fluid colour and age against your last flush date
- Inspect pads for glazing or uneven wear
- Measure rotor thickness against the minimum stamped on the hat
- Confirm tyres have adequate tread for the load you're carrying
Prevention beats diagnosis every time
Brake fade isn't random. It's the predictable result of heat overwhelming a component that was already running close to its limit, whether that's old fluid, worn pads, or a thin rotor. The fix isn't complicated: check fluid age, watch pad wear, keep rotors above minimum thickness, and use engine braking on anything resembling a real descent.
Most drivers only think about this after a scare on a mountain pass or a loaded trailer run. Build the inspection habit before that trip, not after. A five-minute check of fluid, pads, and rotor thickness costs nothing and catches the problems that turn into a roadside call.
— Sam
Sources
- Brake fade: Causes, symptoms and how to help prevent it | Continental Tires
- Brake fade: Symptoms, Causes & How to Prevent It — Car Care Total
- Brake fade: What it is and how to prevent it | Parts Pioneer
FAQ
How do you fix brake fade once it happens?
Downshift to slow down using engine braking, pull off somewhere safe, and let the brakes cool before driving again. If a pump test shows the pedal firming up, the fluid may have boiled and needs a full flush before you drive hard again; if the pedal stays unchanged, the pads or rotors likely need inspection or replacement.
How can I prevent brake fade on a long trip?
Use engine braking and downshift before descents instead of riding the brakes, and keep your fluid on a roughly two-year flush schedule since moisture lowers its boiling point. Match your pad compound to your actual use, whether that's towing, daily driving, or track use, and bed new pads properly before pushing them hard.
What factors cause brakes to fade or fail?
Brake fade comes from excessive heat overwhelming the pads, fluid, or rotors faster than the system can dissipate it. Old brake fluid that has absorbed moisture, glazed or worn pads, thin rotors, and sustained heavy braking on descents or under heavy loads are the most common contributors.
What are the four main types of brake fade?
The four types are friction (pad) fade, fluid (vapour) fade, mechanical (rotor) fade, and green (early-life) fade in new pads. Friction fade comes from pad outgassing, fluid fade from boiling brake fluid, mechanical fade from rotors losing thermal mass, and green fade from new pads that haven't formed a proper transfer layer yet.